My Mac hard drive stopped showing up after a crash, and I need to recover important files, photos, and documents. I’m looking for safe ways to recover data from a Mac hard drive without making the problem worse.
Stop using the drive for now. That’s the big thing. If the files were deleted or the drive was formatted, macOS usually doesn’t erase everything instantly. It mostly marks that space as free, and the real problem starts when new data gets written over it. So don’t download anything, don’t save new files to it, and don’t keep messing around with it. If it’s an external drive, unplug it until you’re ready to recover from it. If it’s the Mac’s internal drive, keep activity as low as you can.
I’ve been through this before, and it’s a horrible feeling. I once thought I had copied my whole thesis to a flash drive, only to find out later that I hadn’t. The good news is that “missing” doesn’t always mean “gone.” A lot of the time the data is still there, but you need to avoid overwriting it.
Before jumping into recovery software, check the simple stuff. Look in the Trash first. Also, if this happened on an external drive, remember that external drives can have their own hidden trash folder. Open the drive in Finder, press Shift + Command + . to show hidden files, and look for a folder named .Trashes. If your files are in there, right-click them and use “Put Back.”
If you use Time Machine, check that next. Enter Time Machine from the menu bar, go back to a date when the files were still there, select what you need, and restore it. If you have a good backup, this is usually the cleanest fix.
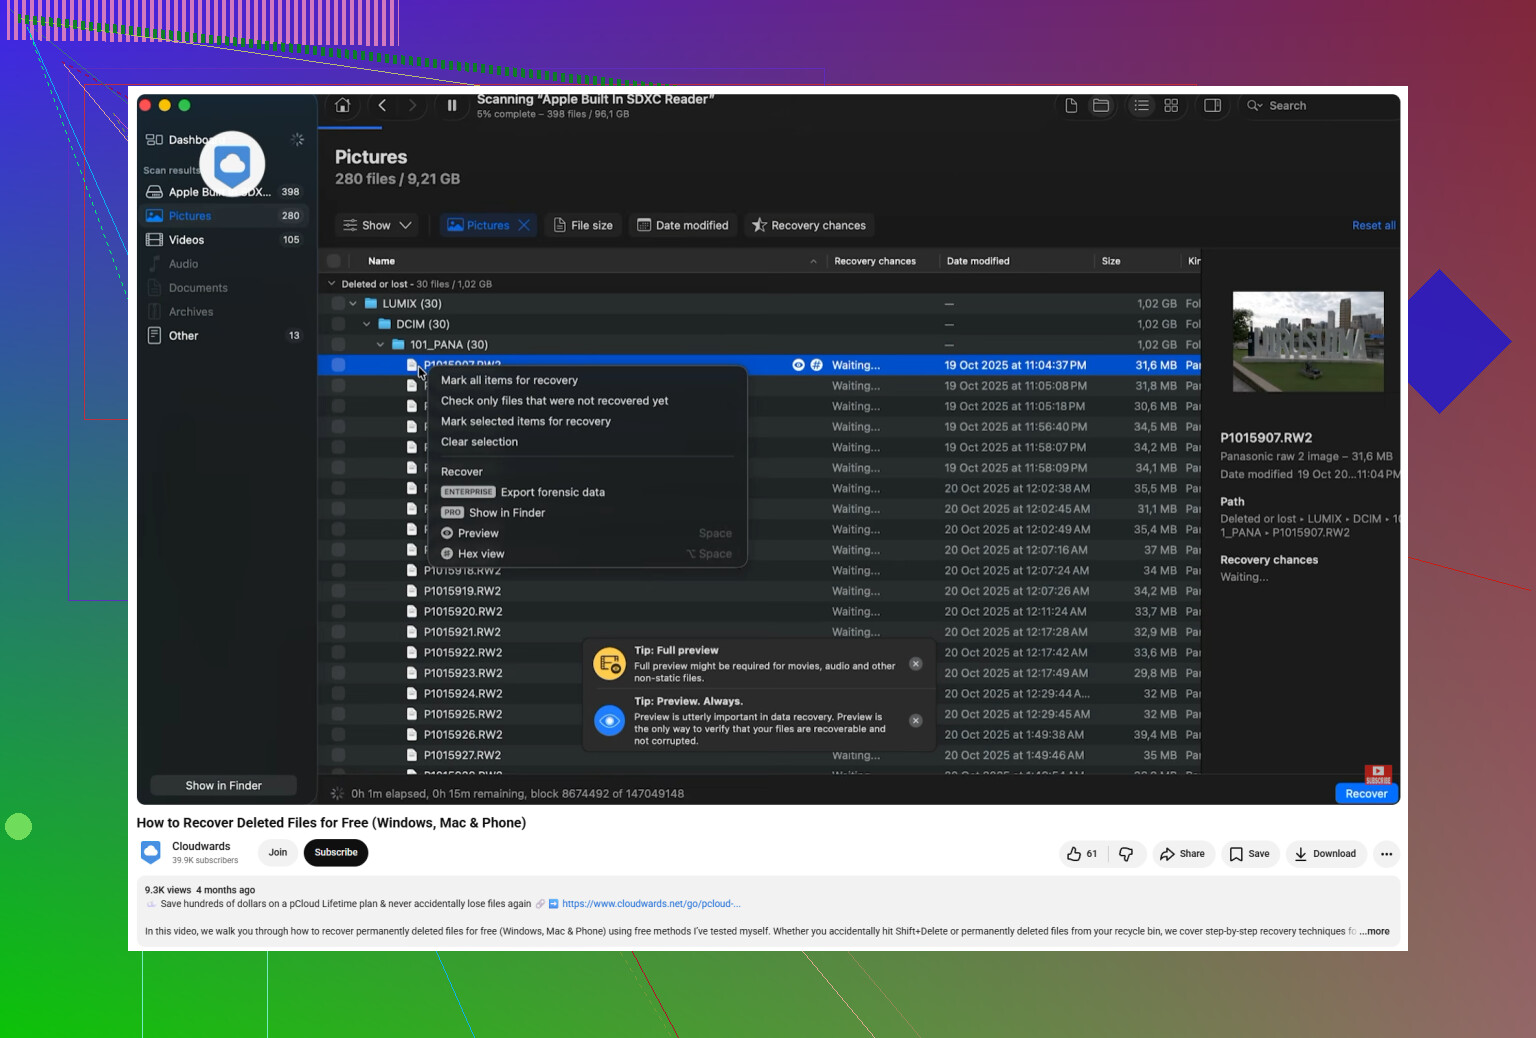
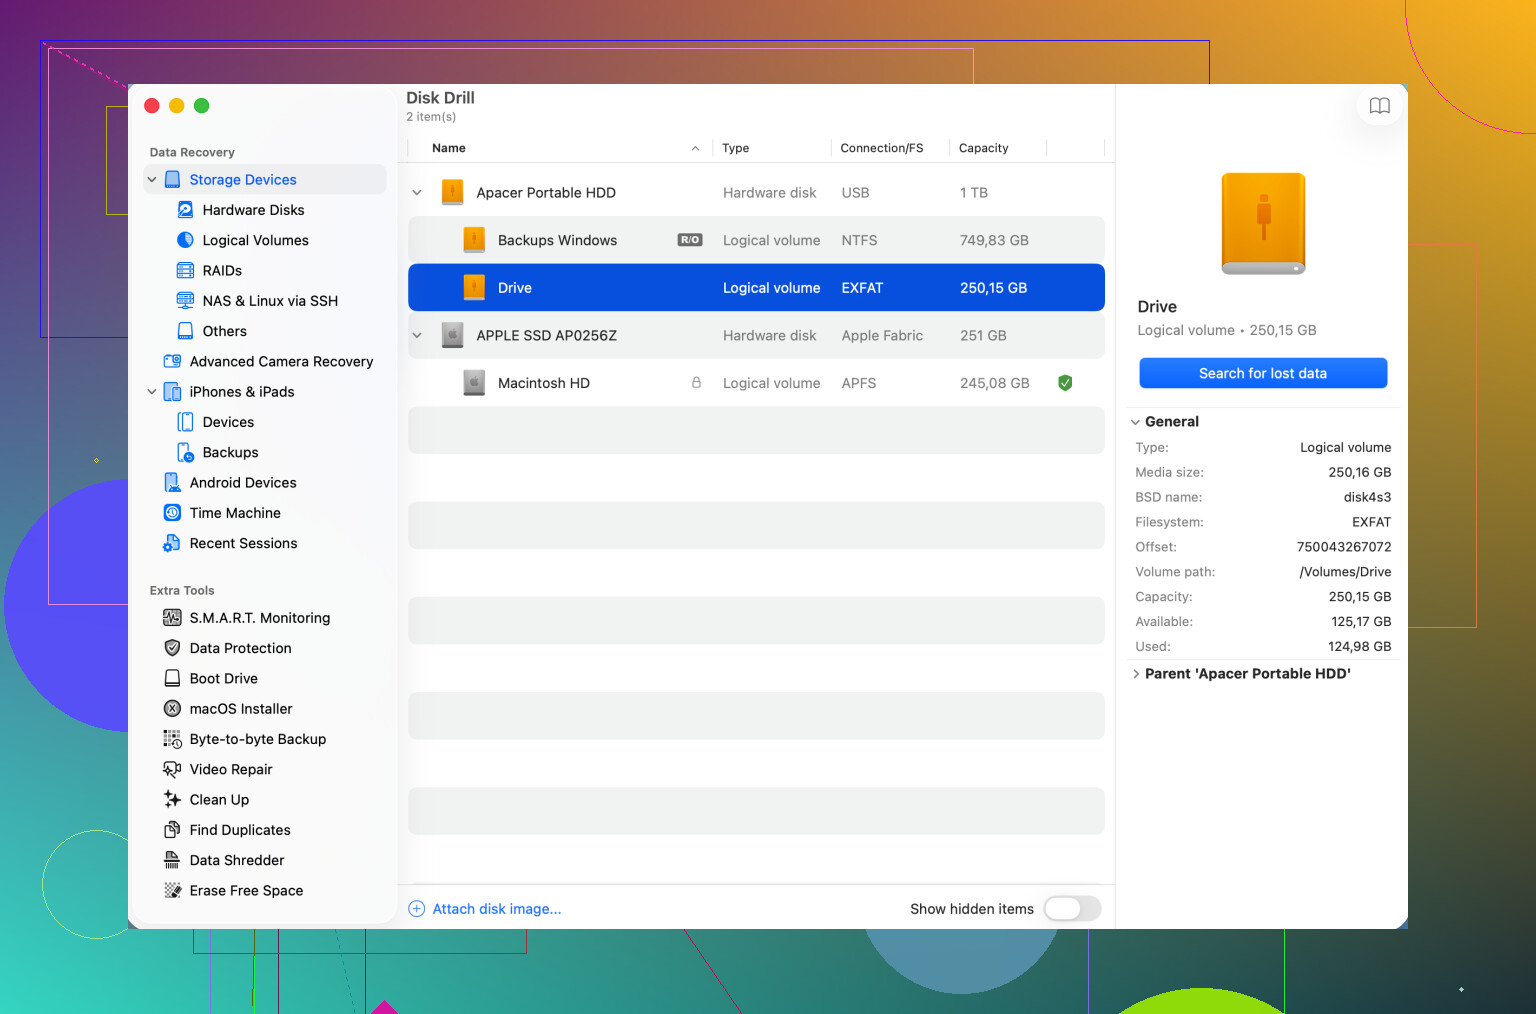
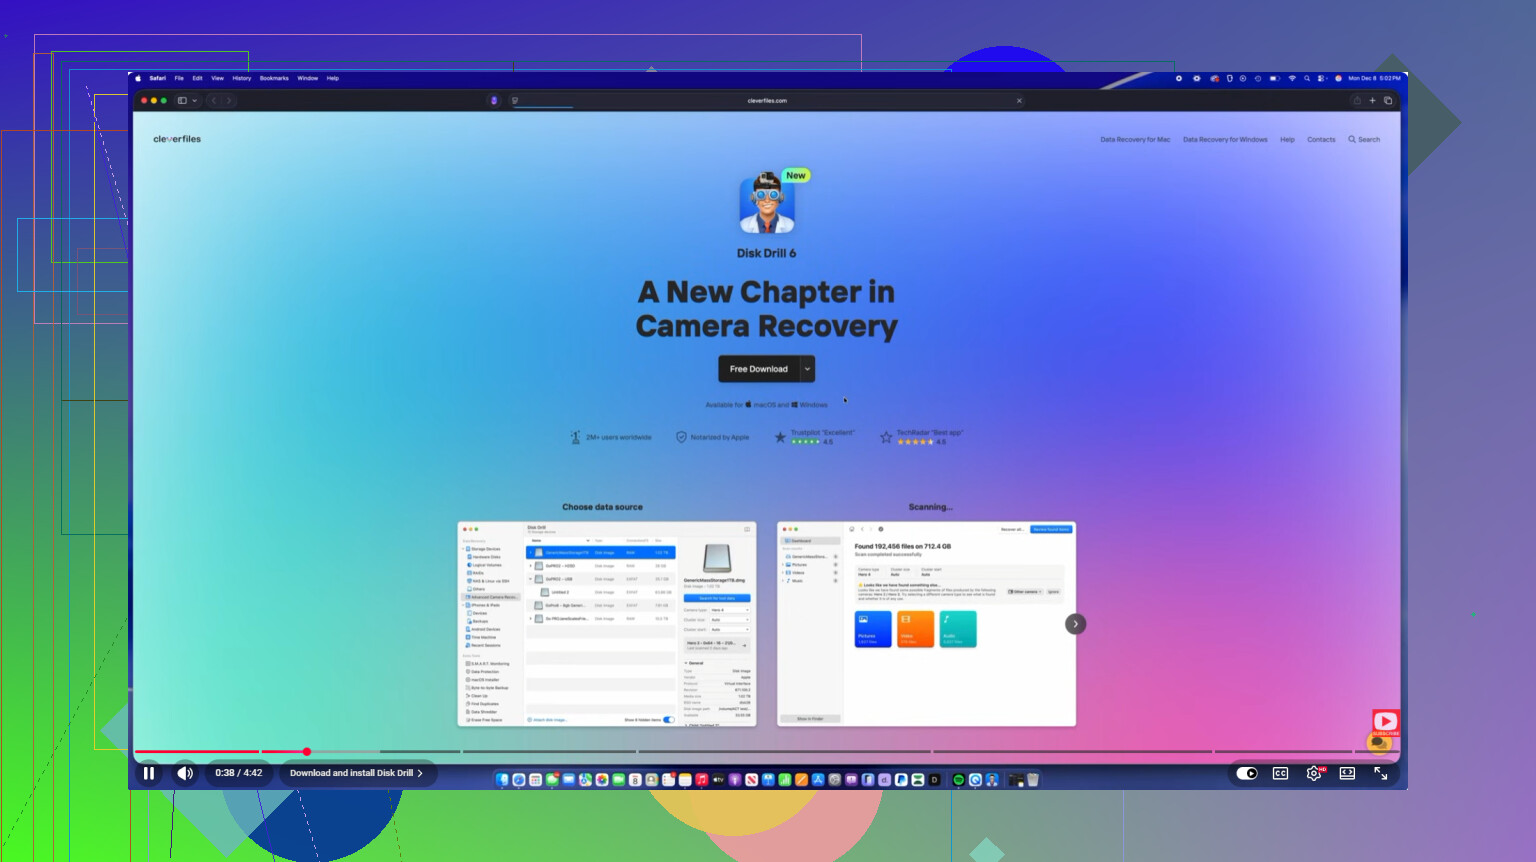
If there’s no Trash hit and no Time Machine backup, then recovery software is probably the next realistic step. I’d look at Disk Drill for Mac. It’s one of the easier tools to use, and it tends to handle Mac file systems like APFS and HFS+ better than a lot of the random recovery apps out there.
The useful part is that it doesn’t only search by file names. It can scan for file signatures, so it may still find things even if the directory structure is messed up. If the drive seems flaky, like it mounts sometimes, disappears randomly, or takes forever to load, use the Byte-to-Byte Backup feature first. That lets you make an image of the whole drive and scan the image instead of hammering the actual drive over and over.
One thing to keep in mind with internal Mac SSDs: recovery can be harder because of TRIM. SSDs often clear deleted data in the background to keep performance up, so the sooner you stop using the machine, the better your odds are.
If the drive is making clicking, grinding, or weird repeated whirring sounds, don’t run recovery software on it. That points to a physical problem, and software can make things worse by stressing the drive. At that point, unplug it and talk to a professional recovery service. It can be expensive, but for irreplaceable data, that’s the safer route.
After this is over, set up Time Machine and some kind of cloud backup so you’re not stuck in this situation again. For now, though, the main plan is simple: stop writing to the drive, check the easy places, then scan it carefully with a proper recovery tool if needed.
10 Likes
If the Mac was using FileVault, the recovery path changes a lot because the data may be unreadable until the drive is unlocked with the right password or recovery key. Before scanning it with anything, I’d try mounting it from macOS Recovery or Disk Utility and see whether it asks to unlock the volume. If it’s an external drive, try a different cable/enclosure too, because “not showing up” is sometimes the bridge board failing, not the disk itself. I agree with the advice about not writing to it, but I’d be careful about running long scans on a drive that keeps disconnecting. Make an image first if the tool can see it, then scan the image with Disk Drill or whatever recovery app you trust. If Disk Utility can’t see the device at all, software probably won’t either, and that’s when you stop poking at it.
Don’t run First Aid or repair tools on the drive until you’ve copied or imaged whatever you can see. Disk Utility repairs can help in some cases, but they can also change the file system state, which is not what you want before recovery. I’d treat the drive as evidence: mount read-only if possible, recover to a completely different disk, and don’t “restore” files back onto the same Mac drive. Disk Drill or similar tools are fine for a logical failure, but if the drive vanishes during scans, gets very hot, or shows up with the wrong size, stop there. That’s usually past the “safe software recovery” stage.