I’m trying to improve my photo editing workflow on my Mac, but the built-in tools feel too limited for detailed retouching and color correction. I’ve tried a couple of free apps, but they’re either too basic or packed with annoying restrictions. Can anyone recommend solid Mac photo editing apps that balance powerful features, ease of use, and fair pricing, and maybe share what you like or dislike about them?
I’ve tried more times than I’ll admit to turn my Mac into a halfway-decent digital darkroom. Every time I think I’ve finally nailed my setup, some new app, format, or “AI something” drops and I’m back to rearranging my workflow like furniture in a tiny apartment.
At this point I’ve kind of accepted there are two moods:
- “Let me fine-tune this shadow for 45 minutes.”
- “I don’t care, just make the sky look less dead in 3 seconds.”
I’ve been scouring many websites looking for the best photo editing apps, and I can finally share my favorites. Here’s how that’s shaken out for me, tool-wise.
The Big Editing Apps I Keep Coming Back To
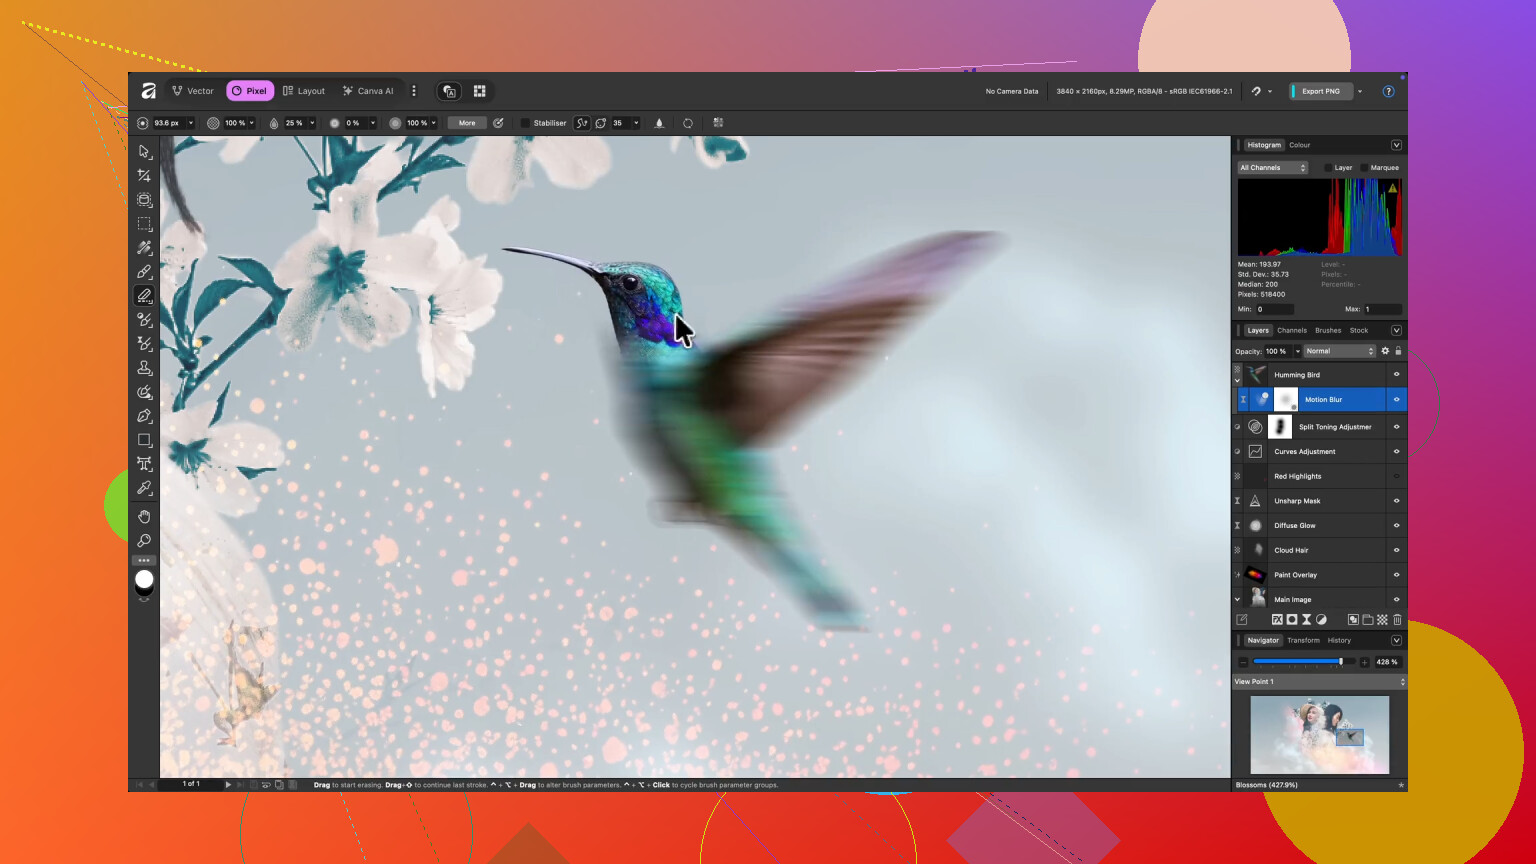
Affinity Photo
Affinity Photo is the one I bought the day I finally got tired of paying rent to Adobe.
Once I realized I could do most of my “Photoshop-style” work in it without a monthly bill, it felt like stepping off a treadmill. Layer masks, blend modes, proper RAW stuff, all there. It opens its own huge .afphoto files and somehow doesn’t choke my Mac, even with a ridiculous number of layers and adjustment stacks.
It honestly feels like somebody actually tested it on a Mac that wasn’t brand new, because it runs way smoother than I expected for a one-time purchase app.
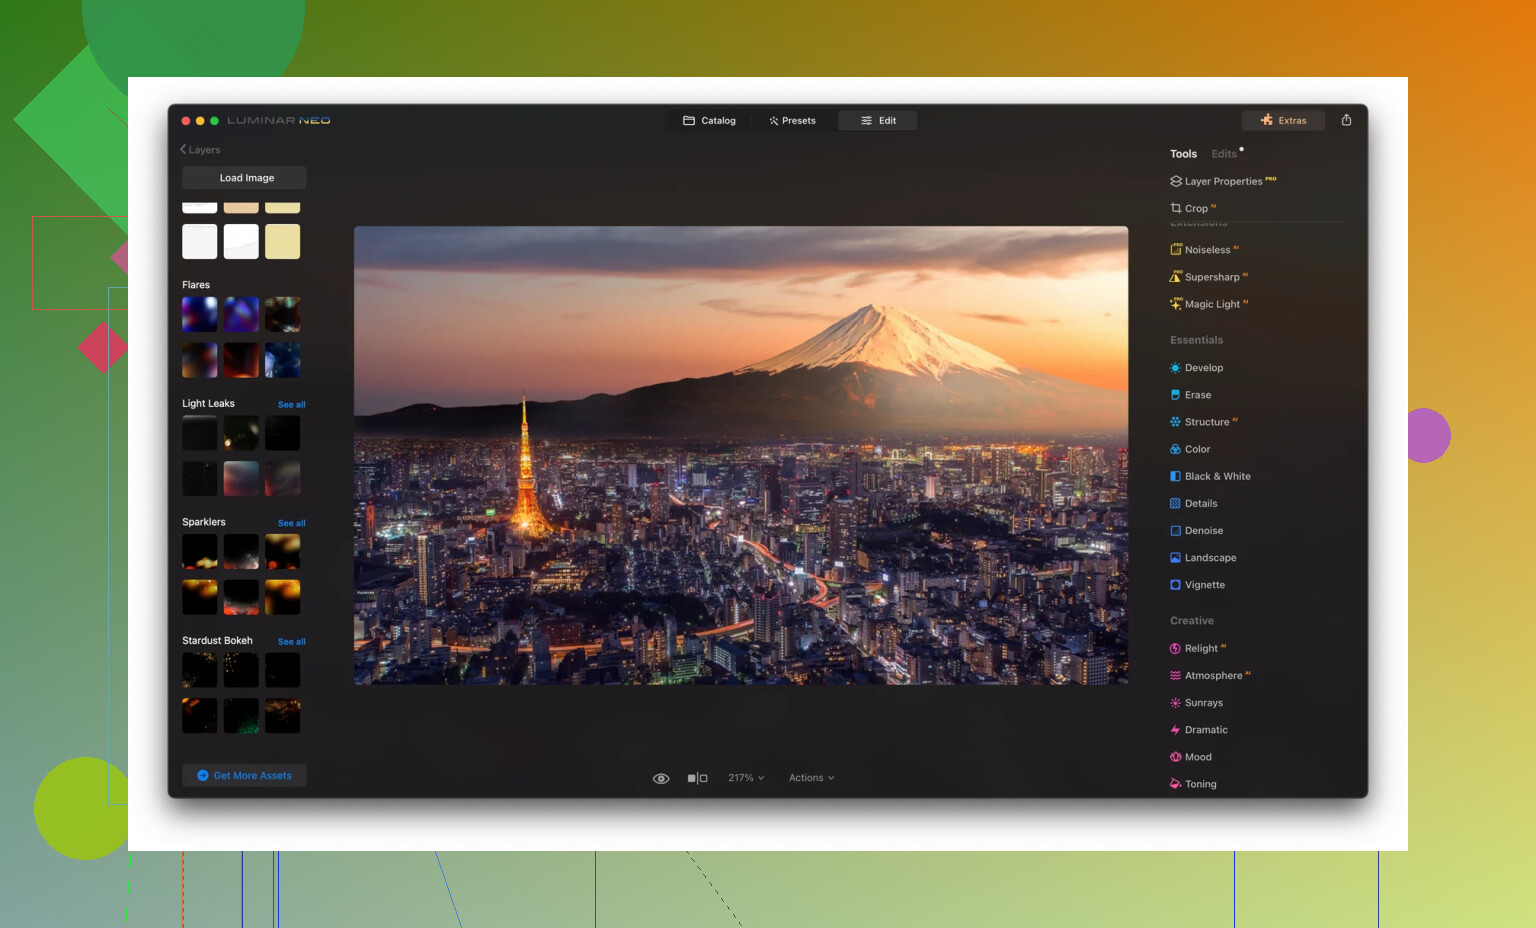
Luminar Neo
Luminar Neo is what I open when I’m tired, lazy, or both.
The “Sky AI” and similar tools feel like I’ve given up on purity and embraced the robot overlords. I dropped a washed-out, overcast shot into it one night and in about 30 seconds it looked like I’d actually gone outside on a good day. Part of me hated how easy it was; the other part exported the final image and moved on with my life.
If I’m being honest, whenever I don’t have the patience to stack adjustments manually in Affinity, this is the thing I use.
Lightroom
Lightroom is like that one piece of furniture you never get rid of because it holds everything, even if you low-key resent it.
I’ve got almost a decade of random shoots, half-finished edits, and poorly tagged RAWs in there. The thought of migrating that entire library to something else? Absolutely not. I’d rather clean my garage.
It’s still fantastic for cataloging, rating, and batch editing, and I can’t pretend otherwise. The subscription, though, feels like a recurring parking ticket I keep paying because arguing about it would take longer than just paying.
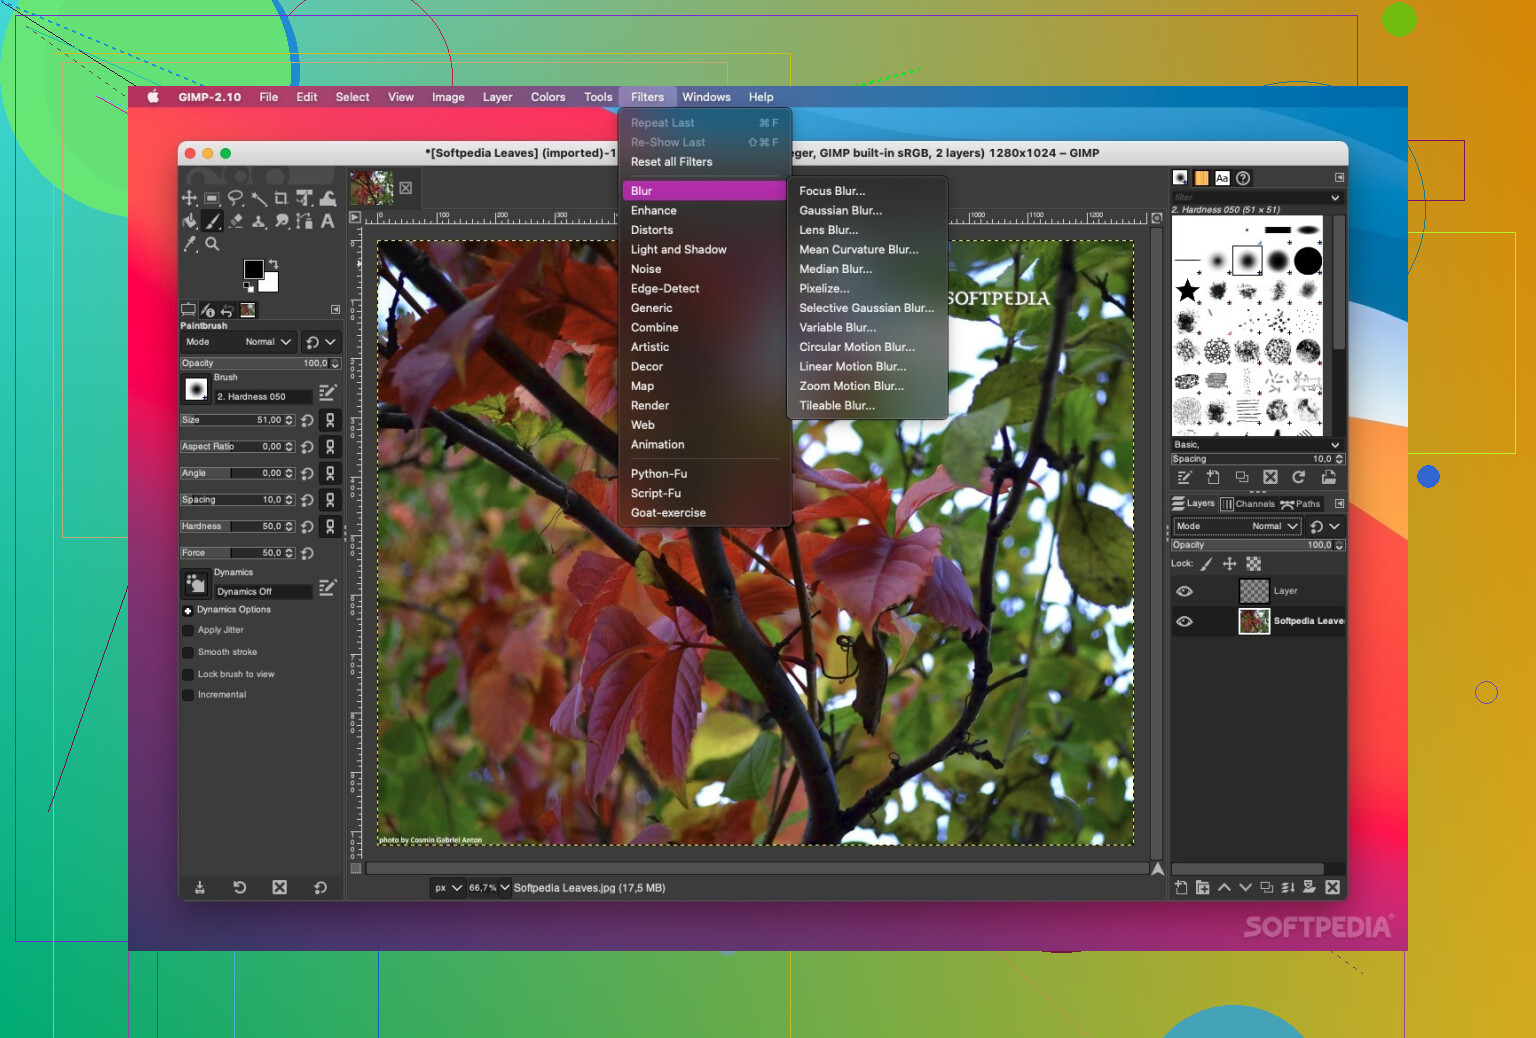
GIMP
GIMP is the one I download every few years when I tell myself, “I’m not spending money on this. I’ll just use open source.”
Technically, it can do a ton. Layers, masks, advanced tools, plug-ins. But the UI feels like I opened a time capsule labeled “early 2000s graphics software” and nobody told it what year it is now. Every time I try to do something slightly complex, I end up hunting through menus like I’m solving a point-and-click adventure game.
I absolutely respect what it is and what it offers for free, but I usually close it halfway through an edit and move to something else before I start swearing at my screen.
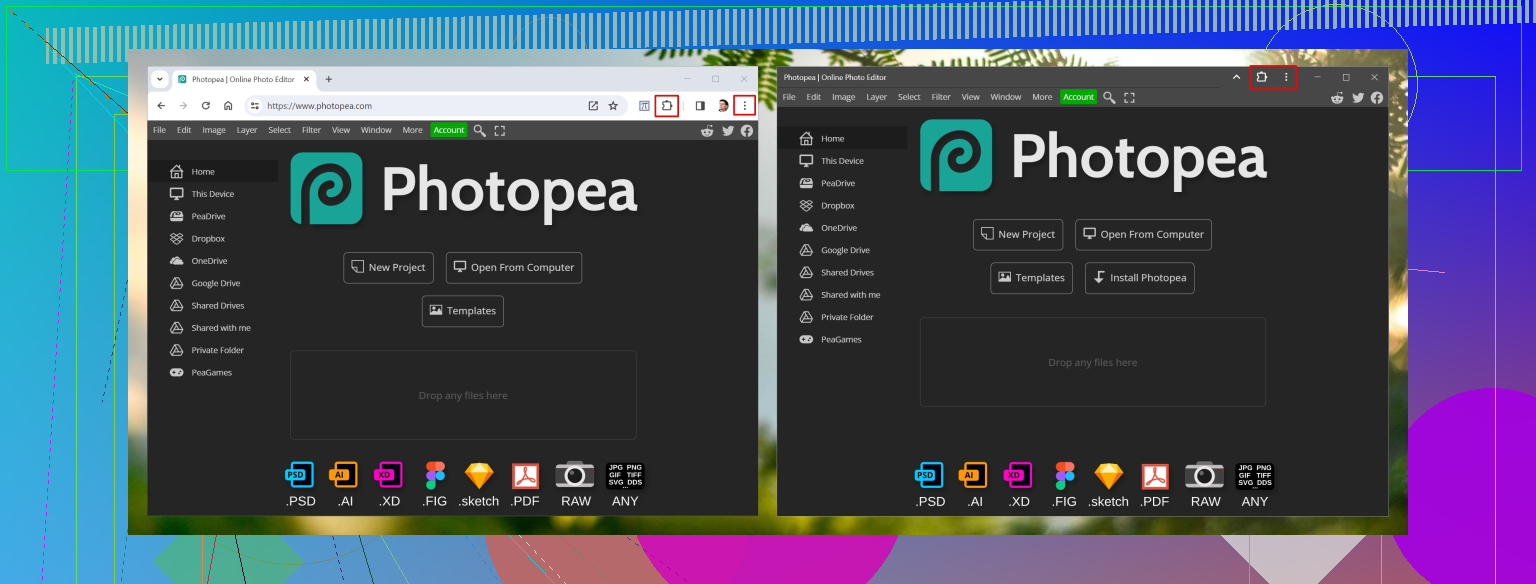
Photopea
Photopea is my “oh no, I’m on someone else’s computer and I need Photoshop right now” solution.
It runs in the browser, which sounds like it should be terrible, but it isn’t. I’ve opened PSDs on random borrowed laptops, fixed masks, resized stuff, exported, and it just worked. No installers, no logins, no subscription guilt.
The interface is almost uncomfortably close to Photoshop, in a good way. If you know Adobe’s layout, you’ll be moving around pretty fast in Photopea.
The Part Nobody Talks About: Getting The Files Onto The Mac
Honestly, the actual editing is the fun part. The annoying part is herding files from cameras and phones to my Mac’s SSD without filling it or breaking something.
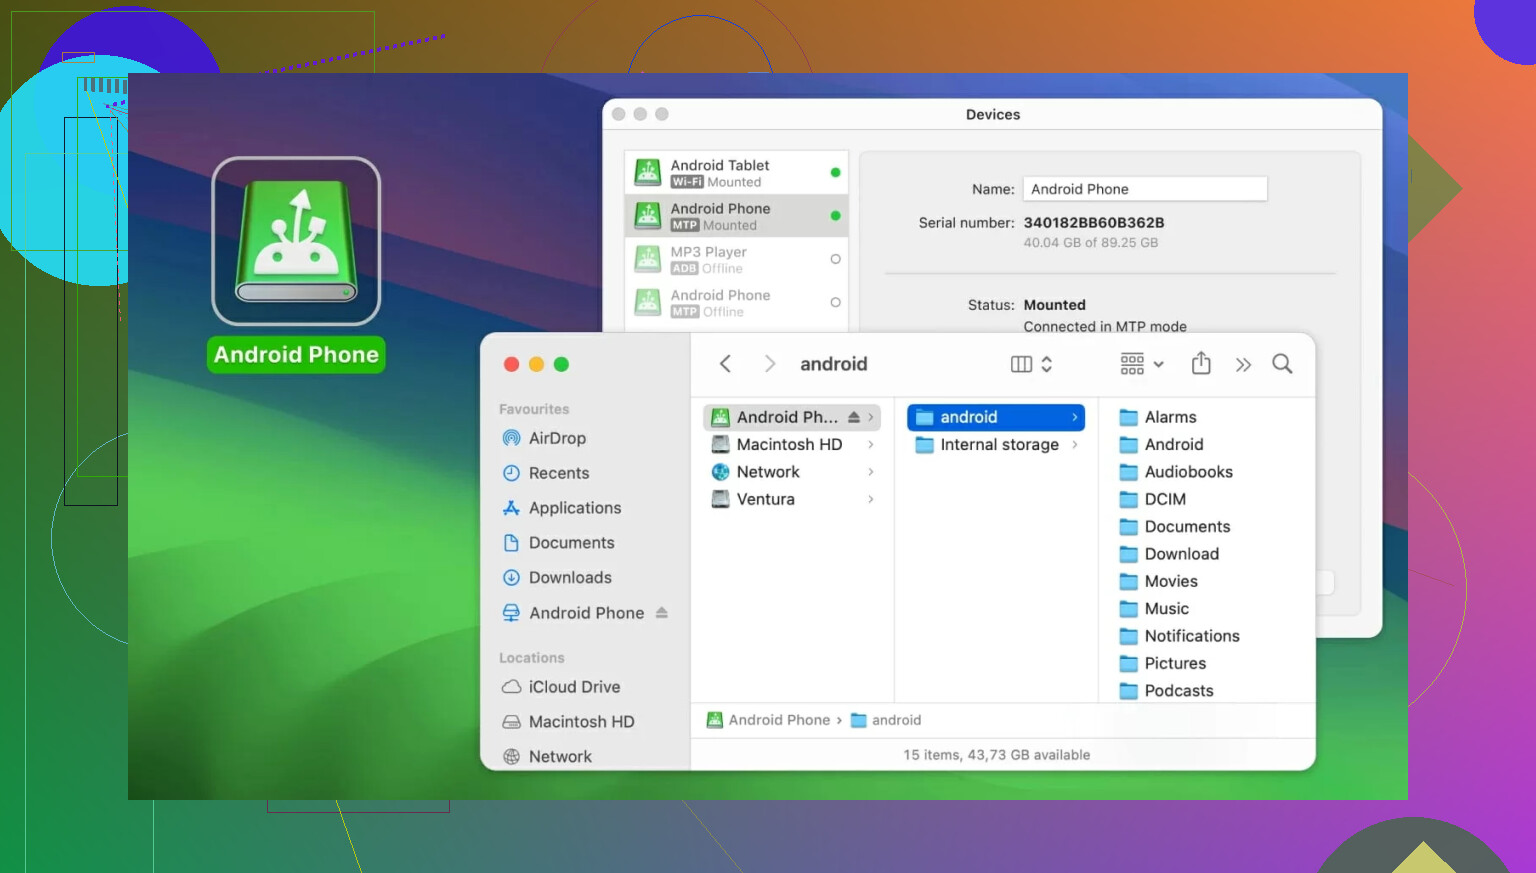
MacDroid
MacDroid entered my life right after I switched from iPhone to Android and realized macOS and Android talk to each other about as well as two people arguing in different languages.
The official tools I tried were unreliable. Sometimes the phone showed up, sometimes it didn’t, sometimes it decided to transfer five images and then quit.
MacDroid just made the phone appear in Finder like a regular external drive. DCIM folder, drag, drop, done. Once I could see my phone’s storage listed next to my regular drives, the whole process felt way less cursed.
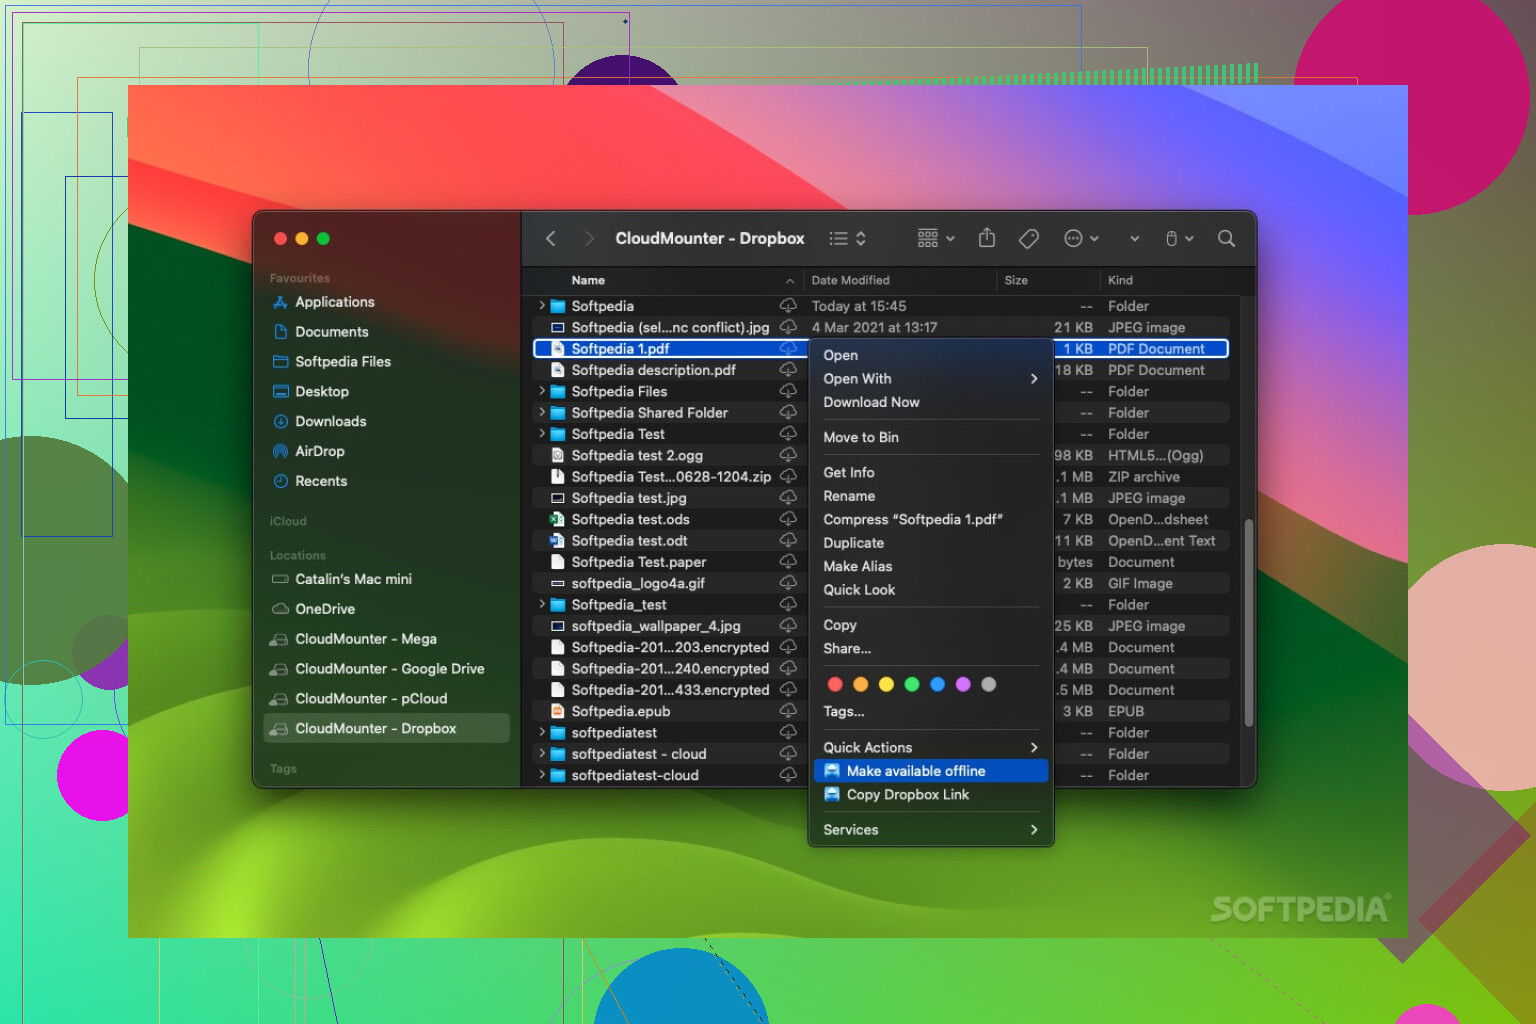
CloudMounter
CloudMounter is what I installed after my MacBook’s 512 GB SSD started waving the white flag the moment I shot a weekend in RAW.
Instead of syncing everything from Google Drive or Dropbox to local storage, I started using this to mount them like they’re external drives. They show up in Finder, I click into the folders, and just open stuff directly in Affinity or Luminar.
Yeah, it’s slower than a real external SSD. A big RAW might take a couple seconds to wake up. But that’s still way better than juggling “Disk Almost Full” messages or constantly deciding what to delete.
System and apps stay local, and the huge 40 MB files live in the cloud. It’s not glamorous, but it’s kept me from having to buy a new machine just for more storage.
1 Like
If the built-in stuff feels cramped, you’re not wrong. macOS Photos is fine for “Instagram in 2014” edits, not real color work or retouching.
Since @mikeappsreviewer already hit the Affinity / Lightroom / Luminar side, here are some different routes that might fit depending on how deep you want to go:
1. Pixelmator Pro
Sweet spot between “toy app” and “full Photoshop brain melt.”
- Why it’s good: Native Apple silicon, super fast, clean UI, proper layers, masks, RAW, local adjustments, LUTs, nice color tools.
- Retouching: Repair tool is actually solid; frequency-separation-style skin fixes are doable without 27 steps.
- Color: Has curves, HSL, color balance, selective color, plus ML-based “Enhance” that’s actually decent when you’re in “just fix this quickly” mode.
- Bonus: One-time purchase, not subscription.
If you feel like Affinity is a bit heavy but Photos is a joke, Pixelmator Pro hits that middle.
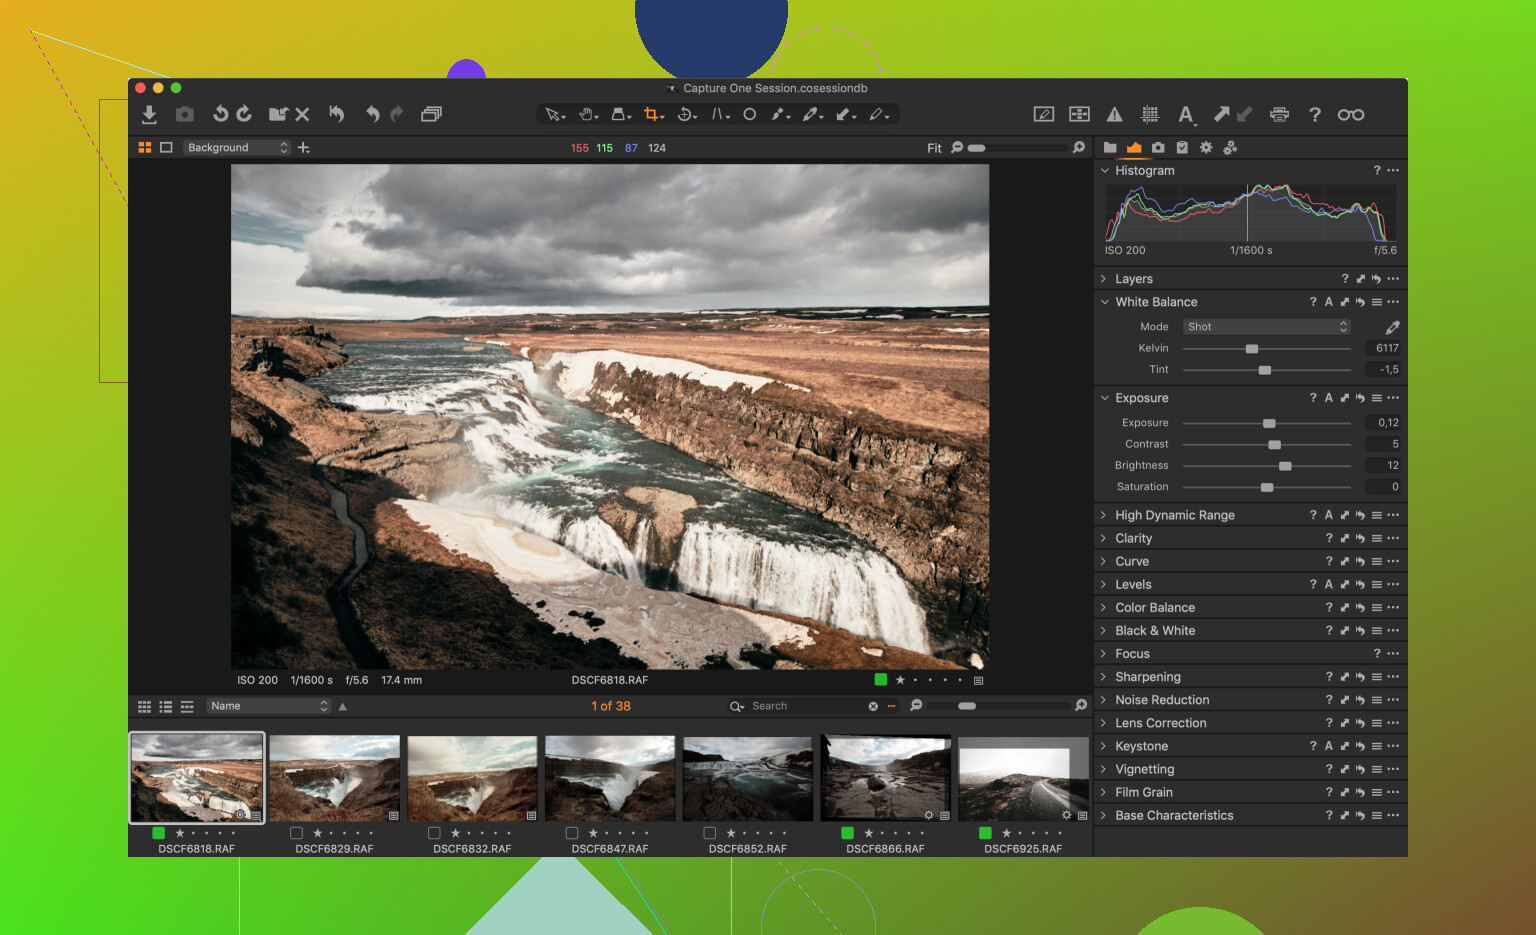
2. Capture One Pro
If detailed color correction is your priority, Capture One is where people go when they’re obsessive about color and tethering.
- Strengths:
- Best-in-class RAW engine for a lot of cameras
- Extremely granular color editor (skin tone uniformity, targeted HSL on steroids)
- Great for sessions and studio / tethered shooting
- Weak points:
- UI has a learning curve, no sugarcoating that
- Not cheap, and they love changing their pricing model every other year
I’d pick this over Lightroom specifically for color-critical work, even though I kind of agree with @mikeappsreviewer that Lightroom is the “old furniture you never quite throw out.”
3. Darktable (free, but actually serious)
If the free apps you tried were too basic or scammy, Darktable is the opposite: free, open source, and almost intimidating.
- Good for:
- Detailed RAW editing, parametric masks, advanced tone mapping
- Non-destructive workflow, decent export options
- Bad for:
- UI is dense, a bit geeky, and not Mac-like at all
- Retouching tools exist, but they’re not as fluid as Pixelmator / Affinity
If you can handle some learning curve and like sliders and modules everywhere, it’s extremely capable with zero cost.
4. ON1 Photo RAW
Kind of a hybrid between Lightroom, Photoshop, and Luminar, with a little less hype.
- Why it might work for you:
- Solid local adjustments and masking, pretty strong noise reduction and sharpening
- Good effects stack for looks, glows, vignettes, etc
- Non-subscription license option exists, which is nice
- Caveat:
- Can feel a bit “chunky” performance-wise on older Macs
- Interface feels busy, in my opinion
5. For pure retouching: Retouch4me plugins
If by “detailed retouching” you mostly mean skin / eyes / cleanup and you’re okay with using plugins:
- AI-based plugins that integrate with host apps like Photoshop, Affinity, etc.
- Stuff like “Heal,” “Portrait Volumes,” “Dodge & Burn,” “White Teeth,” etc.
- They are not cheap, and sometimes a bit overcooked by default, but they save a lot of time.
If you pair something like Pixelmator Pro or Affinity with these, you get a semi-automated beauty retouch workflow pretty fast.
6. Fixing the actual workflow pain (file juggling)
This is where people quietly suffer way more than they talk about on forums.
-
If you shoot on Android and edit on Mac, I’d actually +1 what @mikeappsreviewer said and strongly recommend MacDroid.
- It mounts your Android phone as a drive in Finder so you can drag RAWs/JPEGs straight into your editor.
- Much more stable than the random “official” transfer tools that love to fail mid-transfer.
- For a photo workflow, having the phone show up next to your SSD and cards is just… sane.
-
If disk space is choking you: editing off an external SSD is still more reliable than juggling sync folders. Cloud mounting tools are fine, but if you’re working with large 40+ MB RAW files constantly, a fast external NVMe is just simpler and faster. Here I slightly disagree with relying too much on cloud as your main working drive. Great for archive, less great for 500-photo edit sessions.
If you want something specific:
-
“Closest to Photoshop, no subscription”
Affinity Photo or Pixelmator Pro. I’d start with Pixelmator if you like cleaner UI, Affinity if you want maximum power. -
“Best for color grading and serious RAW work”
Capture One Pro, no contest. -
“Free but not garbage, okay with learning curve”
Darktable. -
“One app for catalog + edit + effects”
ON1 Photo RAW is worth a trial.
Since you mentioned detailed retouch and color correction, I’d personally test this combo for a couple weeks:
- Pixelmator Pro (main editor)
- Darktable or Capture One trial (RAW + color experiments)
- MacDroid if your camera is a phone and not an SD card
That should give you a pretty solid “next level” workflow without jumping straight into the Adobe subscription loop unless you really want to.
If the free stuff you’ve tried feels like “Photos app with extra steps,” you’re not imagining it. A lot of the “free” Mac editors are either stripped-down toys or adware in a trench coat.
I’ll try not to rehash what @mikeappsreviewer and @boswandelaar already covered, so here’s a slightly different angle + some combos that actually work in practice.
1. For serious color correction without going full Adobe
Capture One Express / Nikon / Sony (the branded free versions)
Everybody talks about full Capture One Pro. Decent, sure, but the free camera‑specific versions are secretly really good if your camera is supported.
- Same core RAW engine as Pro
- Solid color tools, especially compared to Photos
- Good enough local adjustments for most non-commercial work
- Zero ads, zero “buy coins” nonsense
If your camera brand has an Express edition, this is miles better than random free editors.
2. For detailed retouching without drowning in features
Pixelmator Pro and Affinity already got some love, but honestly, both of those can still feel like “full studio” apps when you just want to clean a portrait.
If you want something simpler:
Photomator (from the Pixelmator guys)
More “smart Photos.app on steroids” than full Photoshop replacement.
- Great automatic corrections that are actually usable
- Local adjustments / masks that aren’t painful
- Pretty good noise reduction for a non-Adobe app
- Syncs well with your Photos library if you like staying inside Apple’s ecosystem
It’s not as deep for hardcore retouch as Affinity, but for 90% of edits, it’s fast and not bloated.
3. For frequency separation / skin work specifically
If detailed retouch equals “skin cleanup, eyes, local contrast,” I’d honestly argue:
- Learn basic manual frequency separation in Affinity or Pixelmator Pro
- Then add one AI plugin if you really want speed
A lot of those “all-in-one retouch suites” overcook images by default. @boswandelaar mentioned Retouch4me, which is powerful, but I’d say treat that stuff like spice: small amounts, or everything starts looking like a beauty filter from 2016.
4. If you really want free and powerful, but less clunky than GIMP
Everyone either says GIMP or Darktable, and then never admits how much they swore at the UI.
Try RawTherapee:
- Very good RAW engine
- Deep color and sharpening controls
- Wildly configurable, but not quite as chaotic as Darktable’s modules
- Still ugly compared to native Mac apps, but it’s not trying to be pretty, it’s trying to be precise
I’d pick RawTherapee for RAW + export, then finish retouching in something like Pixelmator Pro.
5. Workflow sanity: files in, files out
Both @mikeappsreviewer and @boswandelaar touched the “getting files onto the Mac” pain. This is underrated.
If you’re shooting on Android + Mac, just use MacDroid and stop fighting it:
- Your phone mounts in Finder like a normal drive
- You drag straight from DCIM into your editor or working folder
- No flaky “Android File Transfer” surprise disconnects mid-copy
- For a photo workflow, it’s honestly the least annoying option
I slightly disagree with leaning too hard on cloud mounting for active editing sessions. It’s fine for archive, but for RAW-heavy work, a fast external SSD + MacDroid for ingest is way less aggravating and a lot more predictable.
6. A couple of practical setups that don’t suck
If I had to suggest concrete setups, depending on how deep you want to go:
Light but capable:
- Photomator for day‑to‑day edits
- MacDroid for clean Android to Mac transfers
- iCloud or a simple external SSD for storage
More serious editing, still non‑Adobe:
- Pixelmator Pro or Affinity Photo for detailed retouch
- Capture One Express / camera-specific version for color‑critical RAW work
- MacDroid for phone imports
- External SSD as your active project drive
Once you lock a combo and stop app‑hopping every week, the “workflow” suddenly feels way less awful, and you can actually focus on the edits insted of which slider lives in which app.
Fix more before editing. Set your camera to RAW+JPEG, choose a neutral color profile, lock white balance, and save one preset for your usual lighting. Import only JPEGs into Photos. Adjust crop, exposure, highlights, and color temperature. Keep RAW files for the 5 to 10 percent needing detailed work.
For portraits, use a $20 reflector near a window. Better lighting reduces skin cleanup and color fixes. This approach cuts app switching, storage use, and retouchng time without learning another complex editor.
Two people spend the same afternoon ‘fixing color.’ One drops sixty bucks on a new editor and pushes sliders until the skin tones look right on their screen. The other spends twenty minutes calibrating their display and then edits in whatever app they already had. Guess whose photos actually look correct when they land on someone else’s phone or in print. The gear everyone’s arguing about matters way less than the screen you’re judging color on, and nobody in this thread has mentioned that once.
So before you go app shopping, ask whether your monitor has ever been profiled. If you’re on a MacBook or a decent external panel, the built in display is fine for casual work but it drifts and it’s usually too bright by default, which makes you underexpose and crush shadows without realizing it. A cheap colorimeter or even just turning brightness down to a sane level fixes more ‘bad color’ than switching from Photos to Capture One ever will. Capture One is genuinely great, @boswandelaar is right about the color engine, but a granular color editor on an uncalibrated screen is just precise wrongness.
That said, @novanode220 has the most underrated take here. Getting it closer in camera is not glamorous advice, but it’s the thing that quietly kills app switching. The one part I’d push back on is importing only JPEGs and keeping RAW aside for later. In practice ‘later’ never comes, and you end up rescuing highlights from an 8 bit file six months down the line. Storage is cheap enough now that I’d just keep the RAWs and lean on a proper catalog instead of splitting your library into two moods.
On the file transfer stuff, MacDroid came up a few times and it’s a reasonable pick if you’re on Android and tired of Android File Transfer dying halfway through a copy. It’s an ingest convenience though, not part of your editing. Get the files across, then get them off the phone and onto real storage. I’m with the people here who said don’t run active RAW sessions off a mounted cloud drive. It’s fine for cold archive, but scrubbing through 400 frames with previews loading over a network connection gets old fast, and a plain external SSD sidesteps the whole thing.
If I had to hand someone a starting point today, I’d say fix your screen first, shoot RAW and keep it, and pick one editor you’ll actually commit to instead of trialing five. Photomator or Pixelmator Pro if you want to stay light, Capture One if color is the whole point. The app matters, just not as much as the thread makes it sound.