My iPhone photo library is completely cluttered with duplicates from years of backups, imports, and Live Photos. Storage is running low and it’s getting hard to find the pictures I actually need. What’s the simplest, safest way to quickly detect and remove duplicate photos on an iPhone without accidentally deleting important shots?
I had the same mess on my iPhone. Years of imports, WhatsApp saves, Live Photos… everything doubled or tripled. Here is what worked for me, step by step, without going insane.
-
Use Apple’s built-in Duplicates feature first
• iOS 16 or later has this.
• Open Photos app.
• Go to Albums tab.
• Scroll down to Utilities.
• Tap Duplicates.
• You see groups of similar or identical photos.
• Tap Merge on each group, or tap Select in the top right and select a bunch, then Merge.
• iOS keeps the highest quality version, plus metadata like favorites and albums.This removed a few thousand for me in under 10 minutes.
-
Clean up Live Photos that are pointless
Live Photos eat storage.
• In Photos, open a Live Photo.
• Tap the “Live” icon in the top left.
• Set it to Off to convert it to a still.
For bursts of similar Live Photos, delete the bad ones and keep only the sharpest one. -
Mass delete junk from messaging apps
iMessage and WhatsApp dump duplicates into your library.
• In Settings → Messages → “Review Large Attachments” to delete big old photos and videos.
• In WhatsApp, go to Settings → Storage and Data → Manage Storage and clear stuff from old chats.
This cuts a lot before you even touch the library. -
Use a smart cleaner app for the rest
The built-in tool misses near-duplicates. Screenshots. Slight edits. Cropped vs original. Burst pics.
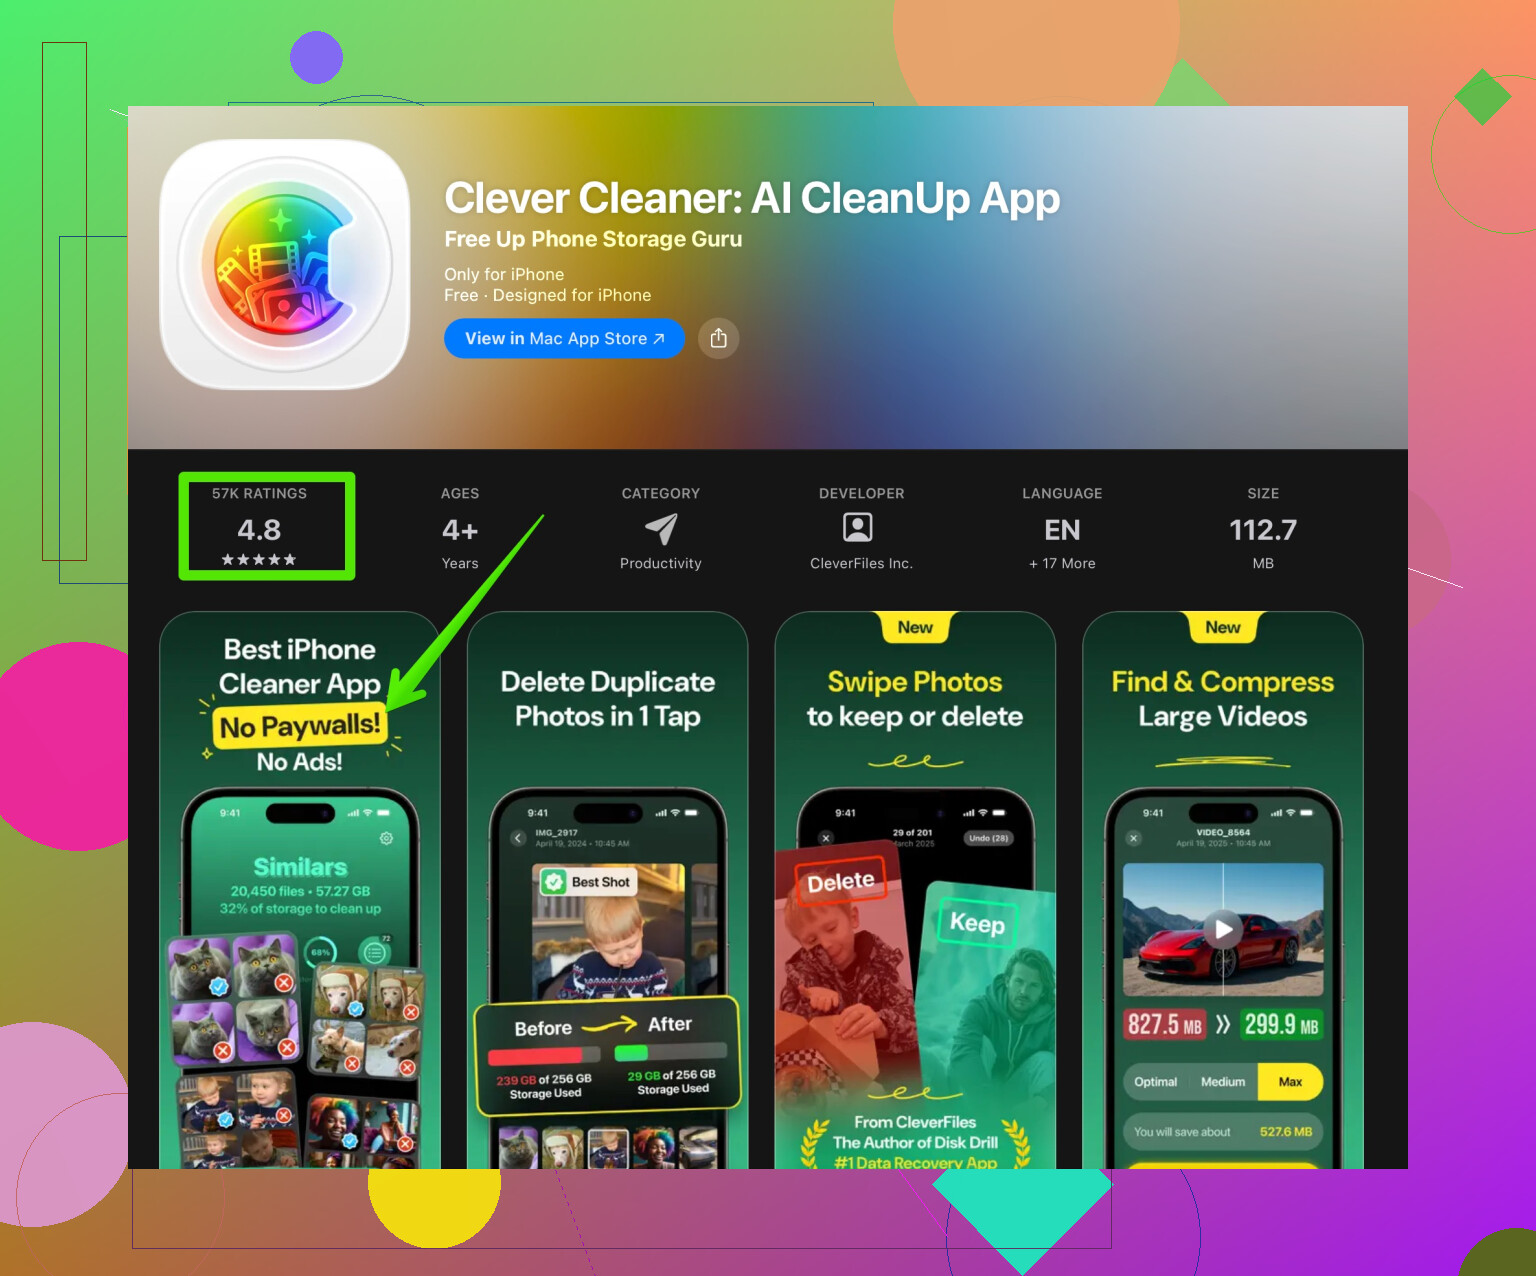
For those, I had good results with the Clever Cleaner App.
It groups:
• Exact duplicates.
• Similar photos and bursts.
• Screenshots and screen recordings.
• Blurry or low quality shots.The UI is simple. You get previews, select what to keep, and delete the rest.
If you want to try it, here is the link:
clean up duplicate and junk photos on your iPhoneI cleared around 15 GB on a 256 GB iPhone in one evening with that plus the Duplicates album.
-
Turn off auto-clutter going forward
Otherwise it builds up again.
• In WhatsApp: Settings → Storage and Data → toggle off “Save to Camera Roll”.
• In Telegram: Settings → Data and Storage → disable auto-save.
• In Instagram: Settings → Account → Original Photos, disable saving originals if you do not need them.
• In iCloud settings, enable Optimize iPhone Storage to keep full-res copies in iCloud instead of local if space is tight. -
Simple routine so it stays clean
• Once a month, open Duplicates and merge.
• Run a cleaner like Clever Cleaner App every few months.
• Delete bursts and failed shots right after taking them when you remember.
If your library is massive, start with the Photos Duplicates album, then move to a cleaner app for similar pics. Do it in short sessions, like 10–15 minutes, so you do not burn out and rage-delete your whole vacation folder by accident.
23 Likes
My iPhone photo library is overloaded with duplicate and similar photos from years of backups, imports, screenshots, and Live Photos. Storage keeps filling up, and it’s a pain to find the pictures I actually care about. I want the simplest and safest way to quickly detect and remove duplicates and junk photos without accidentally wiping important memories.
@byteguru already covered the built-in Duplicates album and a basic workflow. I’d actually push you in a slightly different direction on a few things:
-
Start by protecting yourself from mistakes
Before you do any mass cleanup:- Make sure iCloud Photos is fully synced: Settings → [your name] → iCloud → Photos. Wait until it says “Updated just now.”
- If you sync with a Mac, plug in and do one last backup in Finder or Photos on macOS.
This way, if you rage-tap “Delete All” at 1am after too much coffee, you’re not totally screwed.
-
Use search filters to manually catch “hidden” duplicates
Apple’s Duplicates album is good, but it misses a lot of near-duplicates. Instead of scrolling for hours, try using the Photos search bar:- Search for dates like “July 2018” or locations like “Paris” and review that chunk. Duplicates from imports and old phone transfers often pile up in specific time windows.
- Filter by “Screenshots” or “Selfies” from the Albums tab, then mass delete the obvious junk. This is faster than tapping through random moments.
-
Focus on big storage hogs first
Rather than obsessing over every repeated selfie:- Sort in Settings → General → iPhone Storage → Photos.
- Check “Review Personal Videos” and “Recently Deleted.”
Deleting a handful of duplicate 4K videos often frees way more space than hundreds of tiny photo dupes.
-
Disable “hidden” sources of duplicates
@byteguru mentioned WhatsApp and others, but I’d go more aggressive:- In Settings → Photos, turn off “Auto-Play Live Photos” temporarily while you clean. It makes it easier to compare still frames without motion distracting you.
- If you use Google Photos or similar: disable automatic saving back to the Camera Roll, or you’ll end up with the same images stored twice across apps.
- If you used to import from old devices via apps or cables, stop doing mixed methods. Stick to one sync method going forward to avoid new layers of duplication.
-
Use a dedicated cleaner for the tedious stuff
After the built-in Duplicates pass and the manual big-chunk cleanup, this is where a proper cleaner shines. The Photos app simply does not handle:- Slightly edited vs original versions
- Cropped vs uncropped
- “Almost the same” shots from bursts or Live Photos
This is where a tool like Clever Cleaner App is genuinely useful, not just “nice to have.” It helps find:
- Exact duplicate images
- Similar shots and near-duplicates
- Screenshots and screen recordings
- Blurry and low-quality photos
The benefit over doing it manually is that it groups stuff logically, so you decide which one to keep instead of hunting through the entire timeline. If you want something pretty straightforward that still gives you control, try cleaning up duplicate and junk photos on your iPhone effortlessly.
I’d actually lean on this before spending hours micro-managing Live Photos one by one. Turning every Live Photo into a still like @byteguru suggested is overkill unless you’re really desperate for space. Sometimes the motion is the whole point of the memory.
-
Create a “Do not delete” safety album
One trick that saved me from mistakes:- Make an album called “Keep Forever.”
- As you scroll and find your absolute favorite / must-keep shots (family, events, once-in-a-lifetime stuff), drop them in there first.
- When using a cleaner app or the Duplicates album, if you feel unsure about something, add it to that album before you delete the rest.
This gives you a mental safety net. Anything not in that album is easier to be ruthless with.
-
Minimal routine to stay sane
You do not need a huge system:- Once a month: open Photos → Albums → Screenshots and delete everything you obviously don’t need.
- Every few months: run Clever Cleaner App for a deep sweep of duplicates and similar images.
- After big events (vacations, parties): pick your top 20–50 photos, favorite them, then delete the rest of the near-identical shots right away.
TL;DR approach:
- Back up first.
- Use search and iPhone Storage to nuke the biggest junk chunks.
- Use Photos’ Duplicates once.
- Let Clever Cleaner App handle the near-duplicates and similar shots.
- Protect key memories with a “Keep Forever” album so you can confidently delete the rest.
That combo is simple, pretty safe, and way faster than obsessively toggling every single Live Photo manually.
Short version: you can get this under control without living inside the Photos app for a week.
Where I slightly disagree with @byteguru
They lean pretty heavily on Apple’s built‑in Duplicates and manual passes. That’s fine, but if your library is years of imports + Live Photos + old restores, relying mainly on that is slow and you’ll still miss a lot of “almost the same” shots. I’d flip the order a bit.
1. Start with “risk‑free” cleanup spots
These are areas where you can delete hard without thinking too much:
-
Recently Deleted in Photos
Empty it. That storage is still reserved until you do. -
Messages & social media junk
In iPhone Storage → Messages, clear large attachments and old threads. A ton of meme and photo clutter lives here instead of Photos proper. -
Burst & Live Photo spam
Search “Burst” in Photos, then keep only the single best frame from obvious test shots or accidental bursts. Same for Live Photos where the motion is obviously pointless (lock screen tests, receipts, etc.).
This alone often frees gigs and makes the rest less overwhelming.
2. Use Albums you normally ignore
Instead of just Dates / Places:
-
Panoramas / Portrait / Time‑lapse
These are usually higher‑size files. If you took several versions of the same scene, keep the best one and ditch the rest. -
Imports album
Duplicates from old iTunes / Finder imports or camera dumps often pile here. Scroll, look for repeated event blocks, and delete the obvious repeats from those chunks.
This picks up a lot of duplicates Apple’s Duplicates album never flags.
3. Use a cleaner app earlier in the process
Here is where I’d deviate most from @byteguru. I would not wait until you do endless manual cleanup sessions before bringing in automation.
A tool like Clever Cleaner App is designed exactly for the mess you describe: long history, multiple imports, Live Photos, and near‑identical shots. Running it relatively early gives you a “map” of your junk, so you know where to focus later.
Pros of Clever Cleaner App
- Finds:
- Exact duplicates
- Very similar photos (slight angle changes, tiny crop differences)
- Blurry / low‑quality shots
- Screenshots and screen recordings
- Groups photos so you compare in one place instead of hunting across years
- Lets you choose what to keep instead of blindly nuking everything
- Faster than tapping through infinite Duplicates pairs in Photos
Cons of Clever Cleaner App
- Any cleaner app needs review; you cannot 1‑tap trust it with your whole life archive
- First scan can be slow if your library is massive
- May flag “artsy” motion‑blur or low‑light shots as low quality when they are actually important, so you must watch those sections carefully
- Requires a bit of attention to settings so you do not auto‑delete Live Photos you care about
Use it with this mindset: it is a decision assistant, not a “press button, forget” tool.
4. Set guardrails before using any cleaner
Instead of a single “Keep Forever” album only, I’d go slightly more structured:
- Album 1: Family & close friends
- Album 2: Work / documents / reference stuff
- Album 3: Art / projects / creative shots
Before you run Clever Cleaner App or the Duplicates album aggressively, quickly tag key photos into these. It makes it very obvious when the cleaner suggests deleting something from those categories so you can override.
I actually think this is more precise than one big “Do not delete” bucket, because you remember why each photo is important.
5. Tweak Live Photos instead of mass converting them
Here I’m closer to disagreeing with heavy manual Live Photo surgery. Do not waste time converting all Live Photos to still unless you are critically low on space.
Instead:
- For Live Photos with obvious junk motion (accidental pocket videos, shaky starts), choose a better key photo and leave them as Live
- Only convert to still for:
- Receipts
- Screenshots of moving content
- Random notes or whiteboards
Clever Cleaner App can help surface some of the redundant Live / still pairs so you do not manually hunt those down.
6. Quick ongoing routine that is actually sustainable
After your big cleanup:
-
After each trip or event
Favorite your top 20–40 shots the same day. Then delete the extras from that event, especially bursts and 10‑angle duplicates. -
Every month
- Clear Screenshots, Screen Recordings, and WhatsApp / Messenger saved media
- Run a quick scan with Clever Cleaner App just for duplicates and similar images
-
Every few months
Check iPhone Storage → Photos and clear “Review Personal Videos” plus Recently Deleted again.
This keeps you from ever reaching the same level of chaos without spending more than 10–15 minutes each time.
Summing up:
- Hit the high‑impact junk zones first (Messages, bursts, imports, Recently Deleted).
- Use system albums that surface big files, not just Duplicates.
- Bring in Clever Cleaner App early as a smart filter, but never as a blind delete tool.
- Protect important memories with a couple of focused albums, not just one huge “Keep Forever” bucket.
- Do small, regular passes so you do not have to do another huge purge in a year.