My external hard drive started showing bad sectors, and now some important files will not open or copy. I need help figuring out the safest way to recover data from a failing external drive before it gets worse. Are there any trusted recovery tools or steps that work for bad sector data recovery?
I hit this mess more than once, and yeah, it feels bad fast. You open a folder, Explorer freezes. You copy a file, CRC error. Same story every time. If your drive is doing this, stop touching it.
If it’s your system drive, power the PC off. If it’s an external disk, unplug it. I learned this the hard way. Leaving it online gives Windows more chances to poke at weak sectors, build thumbnails, run indexing, and make a shaky disk worse.
What those bad sectors usually mean
There are two broad cases.
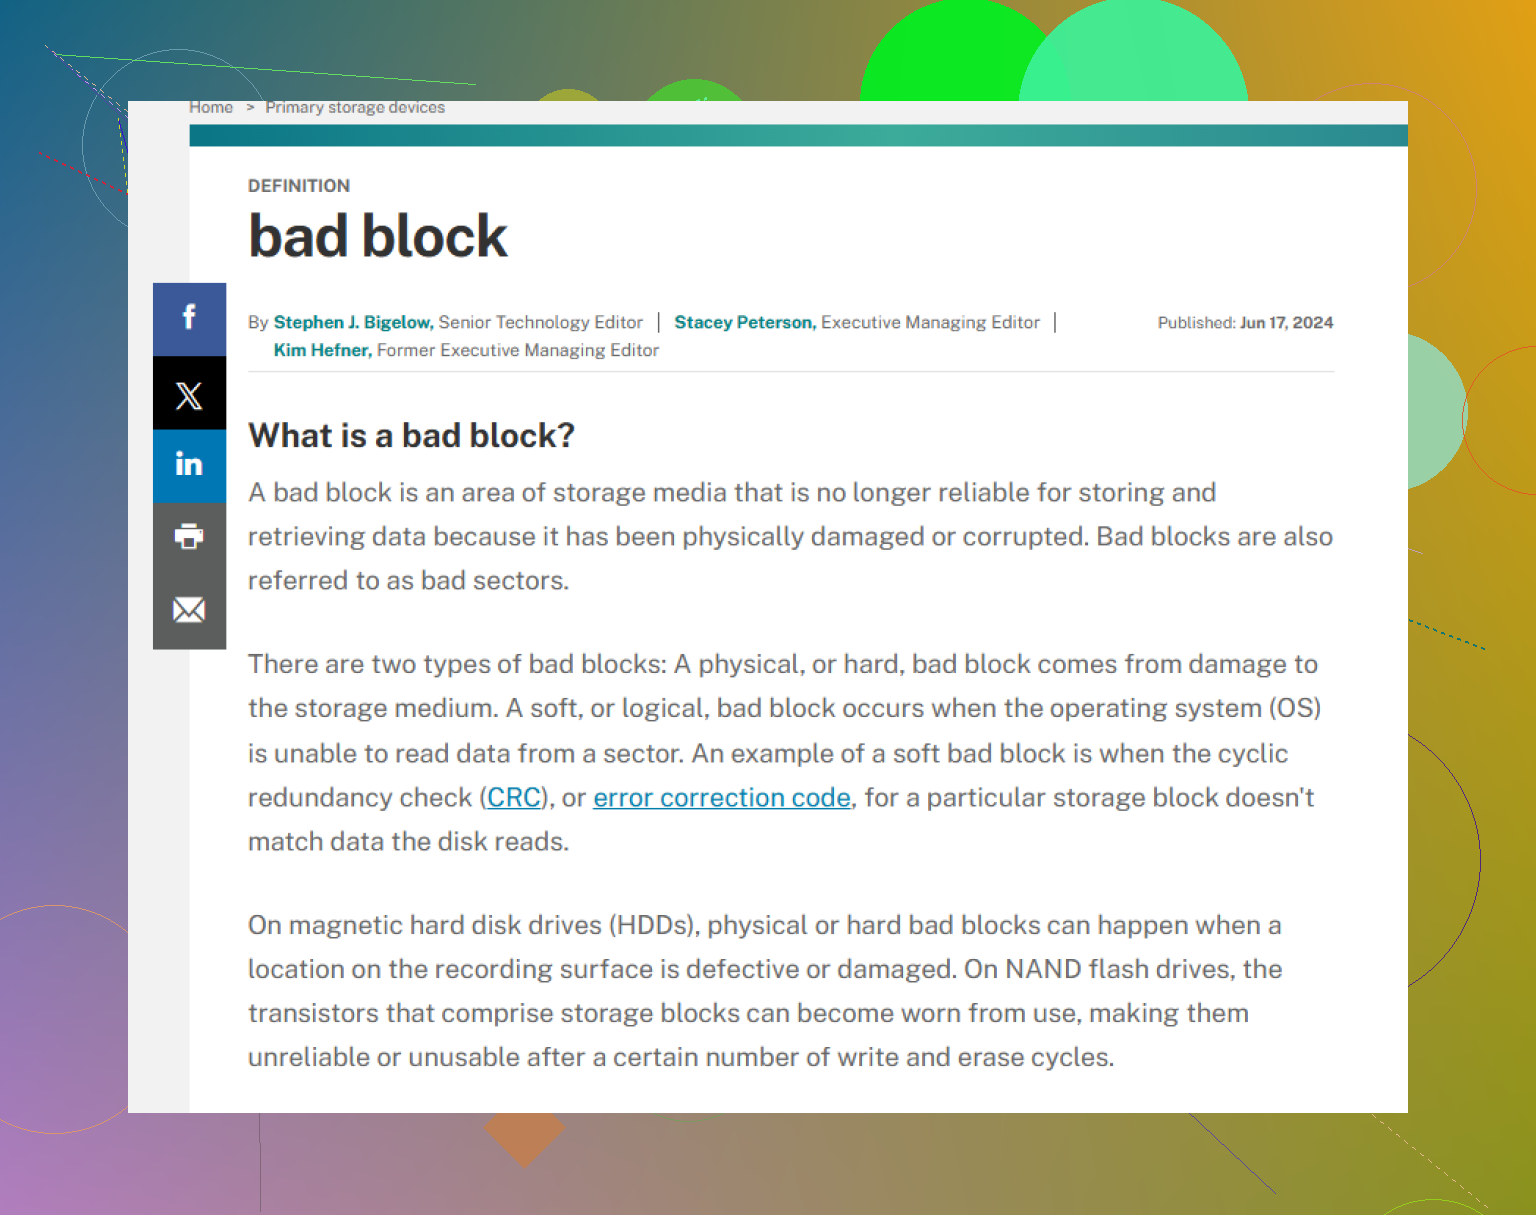
Soft bad sectors are data mismatch problems. I’ve seen them after sudden power loss, forced shutdowns, and flaky USB cables during writes. The surface is still readable in some cases, but the stored data and its error correction info no longer line up.
Hard bad sectors are physical damage. Worn media, weak heads, impact damage, aging hardware, stuff like that. Software won’t repair the damaged spot. At best, the drive gets told to avoid it later.
Do not start with CHKDSK
This is where people burn their own data.
Repair tools try to make the file system consistent again. Your files are not the priority. I’ve seen CHKDSK turn a messy directory tree into a “clean” volume with missing filenames and orphaned chunks. Great for the file system. Terrible for your photos.
So my rule is simple. First clone. Then inspect. Then recover from the copy.
Clone first
You want a sector-level copy, disk to image or disk to disk. One long read pass on the failing drive, then leave the original alone. If the drive gets worse halfway through later work, you still have a snapshot of what was readable.
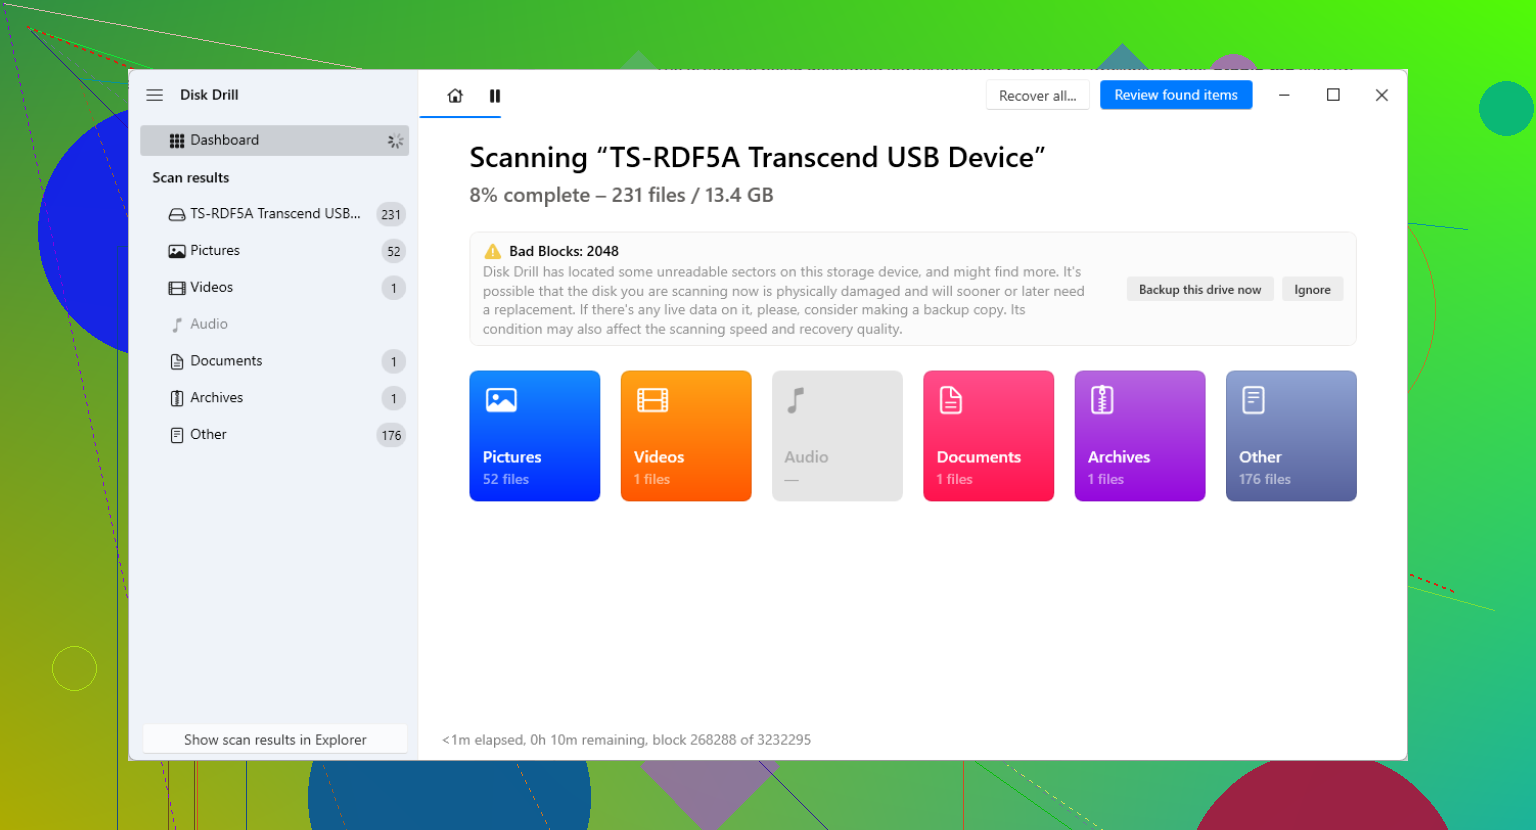
I’ve had decent results doing this with Disk Drill, mostly because the drive backup part is the bit I cared about, not the deleted-file stuff people usually mention.
What stood out to me in version 6 was how it behaves on unstable disks. When it runs into unreadable areas, it skips ahead instead of sitting there forever beating on one bad patch. Later it circles back and tries smaller chunks. On a weak drive, that matters. Less strain early on, more total data copied by the end. At least in my tests, it worked better than the dumb “retry until the disk cries” approach.
What I’d do, step by step
1. Get another healthy drive with equal or larger capacity.
2. Make the image. Byte for byte, full pass. This part drags. I’ve had jobs take half a day. One old 2 TB laptop drive took longer than I expected because every bad patch slowed the whole run.
3. Load the image file, not the original disk. If the tool saves out a .dmg or .img, attach that and scan it.
4. Recover the files you need to a different destination. Not back to the damaged drive. Not onto the clone image location either, if you can avoid it.
When DIY stops making sense
If the drive clicks, grinds, chirps, or won’t spin up, I’d stop there. Same if it disappears from BIOS off and on. That usually means hardware failure, not a file system problem.
At that point, software is mostly wishful thinking. If the files matter enough, send it to a lab such as Gillware or Techchef. They do the cleanroom work, head swaps, donor parts, all the expensive ugly stuff most of us can’t do at home. The numbers I’ve seen are usually somewhere around $500 to $3,000, depending on damage and drive type. Painful, yep. Still cheaper than losing irreplaceable work in some cases.
After the recovery
Once your files are copied out and checked, then you can mess with the old disk if you still want to. I wouldn’t trust it for anything important again, but sure, you can test it.
Options:
Run chkdsk /r in PowerShell.
Or do a full format in Windows, not quick format. Full format forces a read check across the disk and marks bad areas so the file system avoids them later.
Still, if a drive has started growing bad sectors, I treat it like a soon-to-be e-waste item. Maybe it limps along for months. Maybe it dies next week. I dont bet data on it.
What I changed after getting burned
I moved to a 3-2-1 backup setup. Three copies. Two media types. One copy off-site. It sounds boring until you lose a folder you can’t replace. Then it stops sounding boring.
24 Likes
First, stop trying to open or copy random files from it. Every extra read on a failing external drive costs you.
I agree with @mikeappsreviewer on one big point, don’t start with file system repair. I’d go a bit further though. I would also avoid repeated full rescans with different tools at the start. People burn hours and stress the drive for no gain.
My order would be:
-
Check the enclosure before blaming the disk.
Bad USB cables, weak power adapters, and dying SATA-to-USB bridge boards cause read errors too. If this is a desktop external, try a new cable and a differnt USB port. If the enclosure is suspect, remove the drive and connect it by SATA or a known good adapter. -
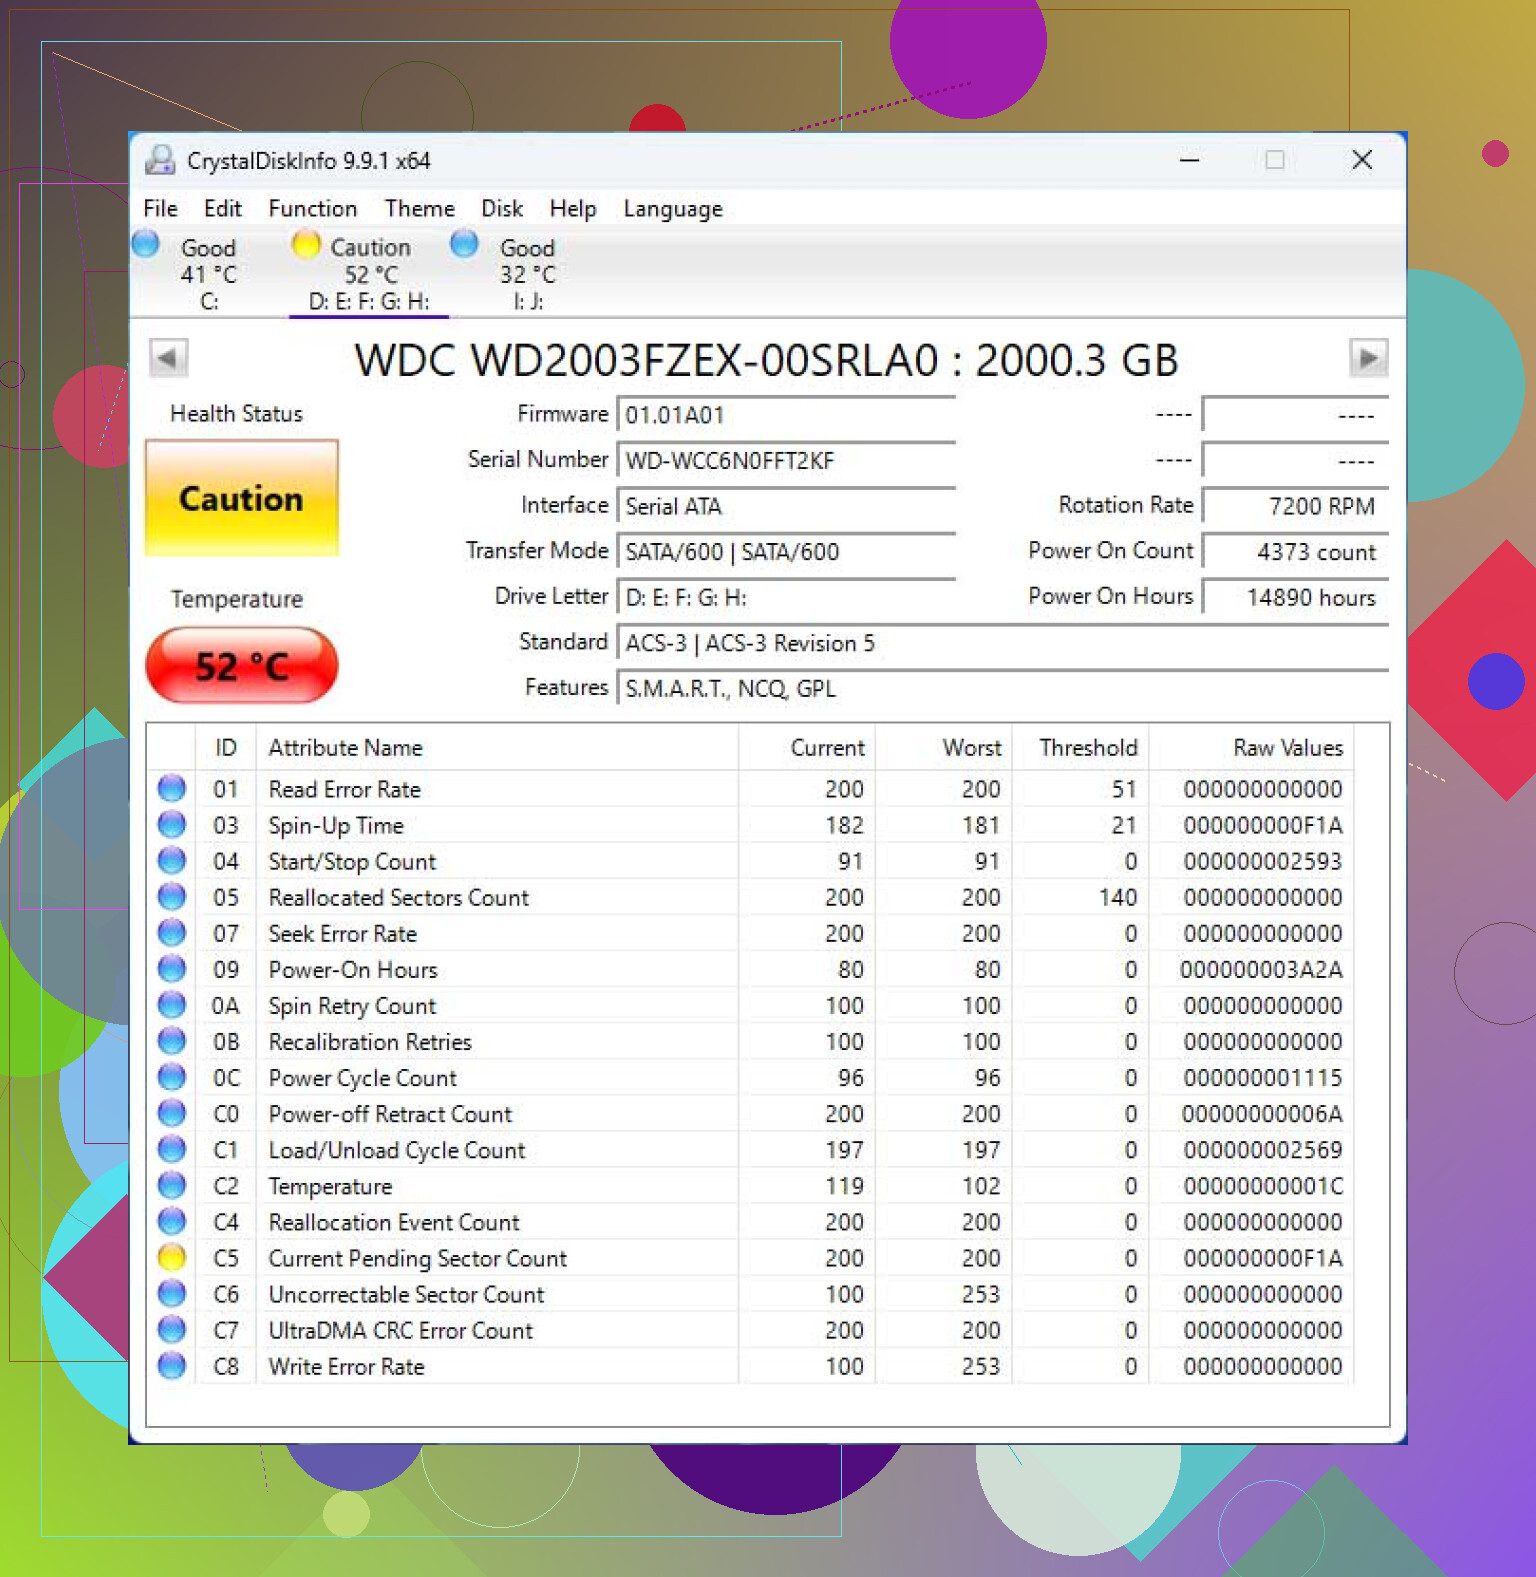
Pull SMART data.
Use CrystalDiskInfo on Windows. Look at Reallocated Sectors, Current Pending Sector, and Uncorrectable Sector Count. If pending or uncorrectable values are rising, your drive is getting worse in real time. -
Recover the most important files first.
Before any long imaging job, copy the smallest irreplaceable stuff first if the disk still stays online, docs, spreadsheets, project files. Skip huge videos at this stage. This is where I differ a little from the strict ‘image first no matter what’ advice. On unstable drives, a few mission critical files first is sometimes the better bet. -
Then make a full image.
Disk Drill is fine for this. Its byte-level backup is useful when your external hard drive has unreadable sectors and file copy keeps failing. Work from the image after that, not the original disk. -
If Disk Drill misses files, try a second pass with another recovery app on the image, not on the failing drive.
For background, this page explains bad sectors in plain english: what bad sectors and damaged storage blocks mean
If the drive clicks, disconnects every few minutes, or shows 0 bytes, stop DIY. That’s lab territory. Tbh, once a drive starts growing bad sectors, I replace it no matter what.
One thing I’d add to what @mikeappsreviewer and @yozora said: pay attention to file type and not just file importance.
Some damaged files can survive partial recovery better than others. A ZIP, PST, database, VM image, or video project file usually hates corruption and may be useless if even a small bad patch lands in the wrong place. Plain docs, JPGs, and PDFs sometimes recover partially. So if you’re choosing what to save first, prioritize the fragile stuff, not just the sentimental stuff.
Also, I slightly disagree with the “copy a few critical files first” idea unless the drive is still behaving mostly normal. If reads are already hanging, I’d avoid cherry-picking all over the disk because that causes lots of seeking. A more linear read pattern is often less abusive on a dying HDD. That’s why imaging still wins for me in most cases.
A couple extra things people forget:
- Disable autoplay, thumbnail preview, and antivirus scanning for that drive while working on it.
- Keep the drive cool. Overheating makes marginal drives flake out faster.
- Do not use a hub if you can avoid it. Plug direct into the motherboard ports.
- If it’s making even faint ticking noises, stop messsing with it.
For drive health, check SMART data so you can see whether reallocated, pending, or uncorrectable sectors are climbing. This explains it in a very practical way: how to read SMART warnings before a hard drive fully dies.
If you want a practical workflow, use Disk Drill to create a byte-level backup first, then scan the image instead of hammering the original external drive. That’s the safest DIY route imo. If the drive drops offline, starts clicking, or shows capacity wrong, stop there. Software won’t magic that away.
One point I’d push a bit harder than @yozora, @byteguru, and @mikeappsreviewer: check the event logs before you do anything big. In Windows, look in Event Viewer for Disk, Ntfs, and storahci errors. If you’re seeing controller resets, I/O timeouts, or USB disconnect spam, that can hint the enclosure or cable is the real problem, not just platter damage.
Also, if this is an HDD and not an SSD, avoid power-cycling it over and over. A weak drive often dies during spin-up, not while already running.
My extra checklist:
- Use a UPS or at least stable power during recovery.
- Turn off sleep settings so the drive does not park mid-job.
- If possible, connect on another machine with plenty of free storage and nothing else hammering USB.
- Verify recovered files immediately with spot checks, hashes if practical, or by opening them.
On Disk Drill specifically:
Pros
- Byte-level backup is the right feature for this situation
- Easier than a lot of recovery tools
- Good for scanning the image instead of the failing source
Cons
- Not the cheapest option
- Deep scans can take a long time
- If the hardware is really failing badly, no software helps much
Slight disagreement with the “copy a few important files first” camp: if the drive is already stalling badly, jumping around the filesystem can make things worse. In that case I’d favor one controlled imaging pass, then recover selectively from the image. If it’s still mostly stable, sure, grab the truly irreplaceable stuff first.
If SMART is ugly, files are disappearing, and reads are slowing down by the minute, treat this as a last-chance extraction, not a repair job. After recovery, retire the drive.