I accidentally deleted important files from my Samsung SSD and now can’t access them. Is there a way to recover the data? Need any software or tools? Any guidance would be appreciated.
Ah, the dreaded delete button strike again! But don’t freak out just yet; there are ways to recover your lost data from a Samsung SSD.
Firstly, STOP using your SSD immediately. The more you use it, the more chances of the deleted data being overwritten.
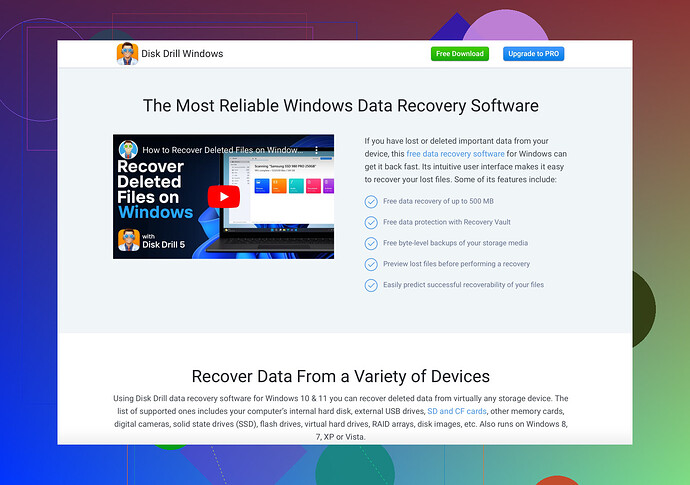
Now, let’s dive into the recovery process. The good news is there are quite a few tools out there that can help. One highly recommended option is Disk Drill. It’s a versatile data recovery software that’s user-friendly and compatible with SSDs.
Here’s a quick rundown on how to use it:
-
Download and Install: Head over to the Disk Drill website, download and install the software on a different drive (not the SSD you’re trying to recover data from).
-
Run the Software: Open Disk Drill and select your Samsung SSD from the list of devices.
-
Scan for Lost Data: Click on the ‘Search for lost data’ button. Disk Drill will scan your SSD for any recoverable files.
-
Preview and Recover: Once the scan is complete, you can preview the recoverable files. Select the ones you need and click on ‘Recover’. Save them to a different drive to avoid overwriting any remaining data on your SSD.
That’s it! Your deleted files should now be back where they belong.
Remember, data recovery software can’t always guarantee 100% success, especially if the data’s been overwritten. But Disk Drill has a pretty good track record.
So, go ahead and give it a shot. Happy recovering!
STOP right there! No more tinkering with your SSD if you want your data back. As @nachtschatten mentioned, continuing to use the SSD increases the risk of permanently overwriting your data.
But wait, there’s more you can do to maximize your chances of recovery! While Disk Drill is a solid choice for data recovery (and definitely recommended), you might also consider other tools, just in case Disk Drill doesn’t entirely cut it for you.
For example, another trustworthy tool is EaseUS Data Recovery Wizard. It’s pretty user-friendly and has a good track record with SSD recoveries too. Here’s a quick rundown to get you started:
- Download and Install: Visit the EaseUS website and download the software to a different drive—not your SSD.
- Run the Software: Open the installed application and choose your Samsung SSD as the target device.
- Initiate the Scan: Click on ‘Scan’ to begin searching for lost data. It will likely take some time depending on the volume of deleted data.
- Preview and Recover: Once the scan is complete, preview the recoverable files and pick the ones you want to restore. Save them to an external drive to avoid overwriting any other data on the SSD.
Also, while Disk Drill is excellent, sometimes a combination of different recovery tools can yield better results. Recuva is another free option worth a try. It’s not as feature-rich as EaseUS or Disk Drill, but it can sometimes find files the others miss.
Lastly, if software solutions don’t work, you always have the option of professional data recovery services. They cost a pretty penny, but if those files are irreplaceable, it might be worth the investment.
Disk Drill remains one of the go-to options because it’s designed to be comprehensive and user-friendly, making it a really great starting point.
Remember, your best bet at a successful recovery starts with STOPPING any further use of the SSD. Best of luck!
Okay, so you’ve already heard about Disk Drill and EaseUS. Both excellent recommendations. But let’s step off the beaten path a bit, shall we?
Alternative Approach (300 words)
If Disk Drill or EaseUS don’t entirely meet your expectations, there’s another player worth considering: PhotoRec. It’s open-source (read: free) and supports a broad range of file systems. Like the others, it doesn’t write to the disk during recovery, protecting your chances of getting those files back.
Steps for PhotoRec:
- Download and Install: From the official CGSecurity website, download PhotoRec and install it on a different drive.
- Launch the Software: It runs via command line, which might seem archaic but is quite effective.
- Select the Partition: Choose your Samsung SSD and the particular partition type.
- Specify File Formats: Determine the type of files you want to recover. This speeds up the process and refines search results.
- Scan for Files: Initiate the scan. PhotoRec will meticulously sift through the remnants of your deleted data.
- Recover and Save: Once the scan is complete, choose the files you want to restore and save them to a different drive.
Pros of Disk Drill:
- User-friendly interface
- Comprehensive recovery options
- Quick scan and preview functionality
Cons of Disk Drill:
- Isn’t free for all features
- Can sometimes slow down with large volumes of data
Alternative competitors:
- Recuva: A simpler, yet surprisingly effective tool, especially for smaller files.
- R-Studio: For those who need advanced recovery options and don’t mind a steeper learning curve.
Key Tip: As @nachtschatten emphasized, stop using the SSD immediately. Further use increases the risk of data being irreversibly overwritten. Also, don’t forget to periodically back up your data to avoid heart attacks over accidental deletions. You’ve got this—best of luck with your recovery mission.
P.S.: If none of these tools pan out, consider pro data recovery services; they’re pricey but sometimes the only solution for critically important files.
