I accidentally emptied the Trash on my Mac last night and realized this morning that it had important files I still need. I didn’t mean to permanently delete them, and now I’m trying to figure out if Mac Trash recovery is still possible or if they’re gone for good. I need help with the best way to recover deleted files on a Mac before I make things worse.
I’ve seen this happen a lot, and I did it myself once. First move, stop using the MacBook right away. Don’t save a file. Don’t install an app. Don’t even poke around more than you need to. When you empty Trash, macOS usually does not remove the file data on the spot. It drops the file’s directory entry and marks the storage blocks as free. Your stuff often stays there for a bit, until new writes land on top of it. Keep using the laptop, and you raise the odds of wiping out the exact files you want back.
There’s a second problem, and this catches people off guard. Most newer MacBooks run SSDs, and SSDs use TRIM. After deletion, TRIM tells the drive which blocks are no longer needed, and the SSD starts clearing them in the background so write speed stays up. On a MacBook, this process can start fast. So yes, time matters here. I’d keep the machine as idle as possible.
If you don’t have a backup, I’d go with the practical route first.
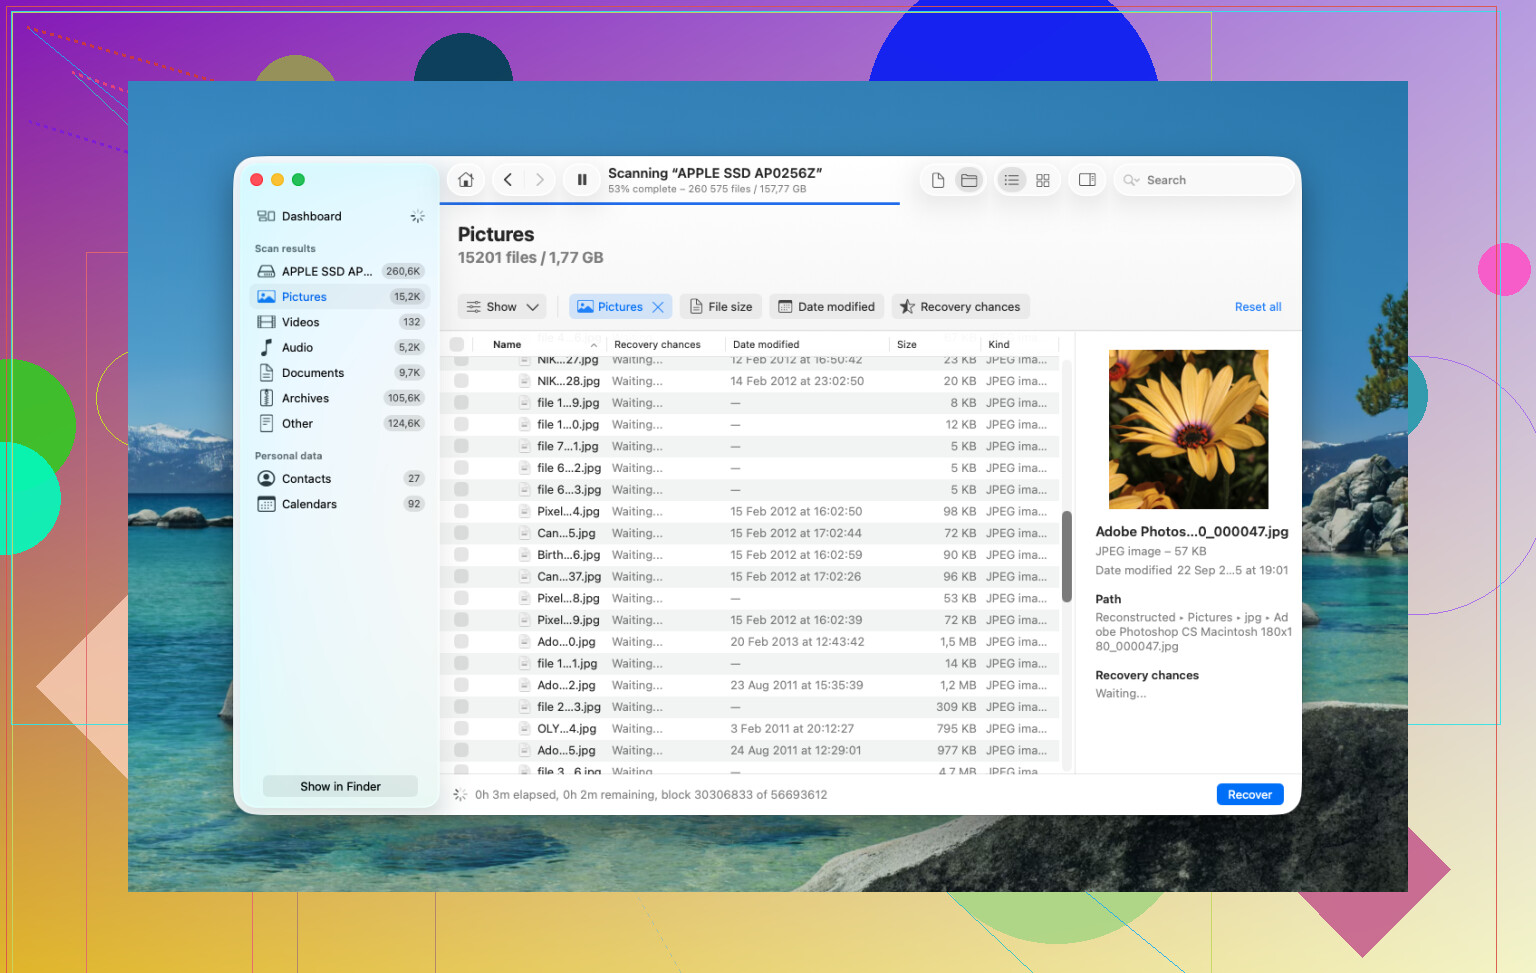
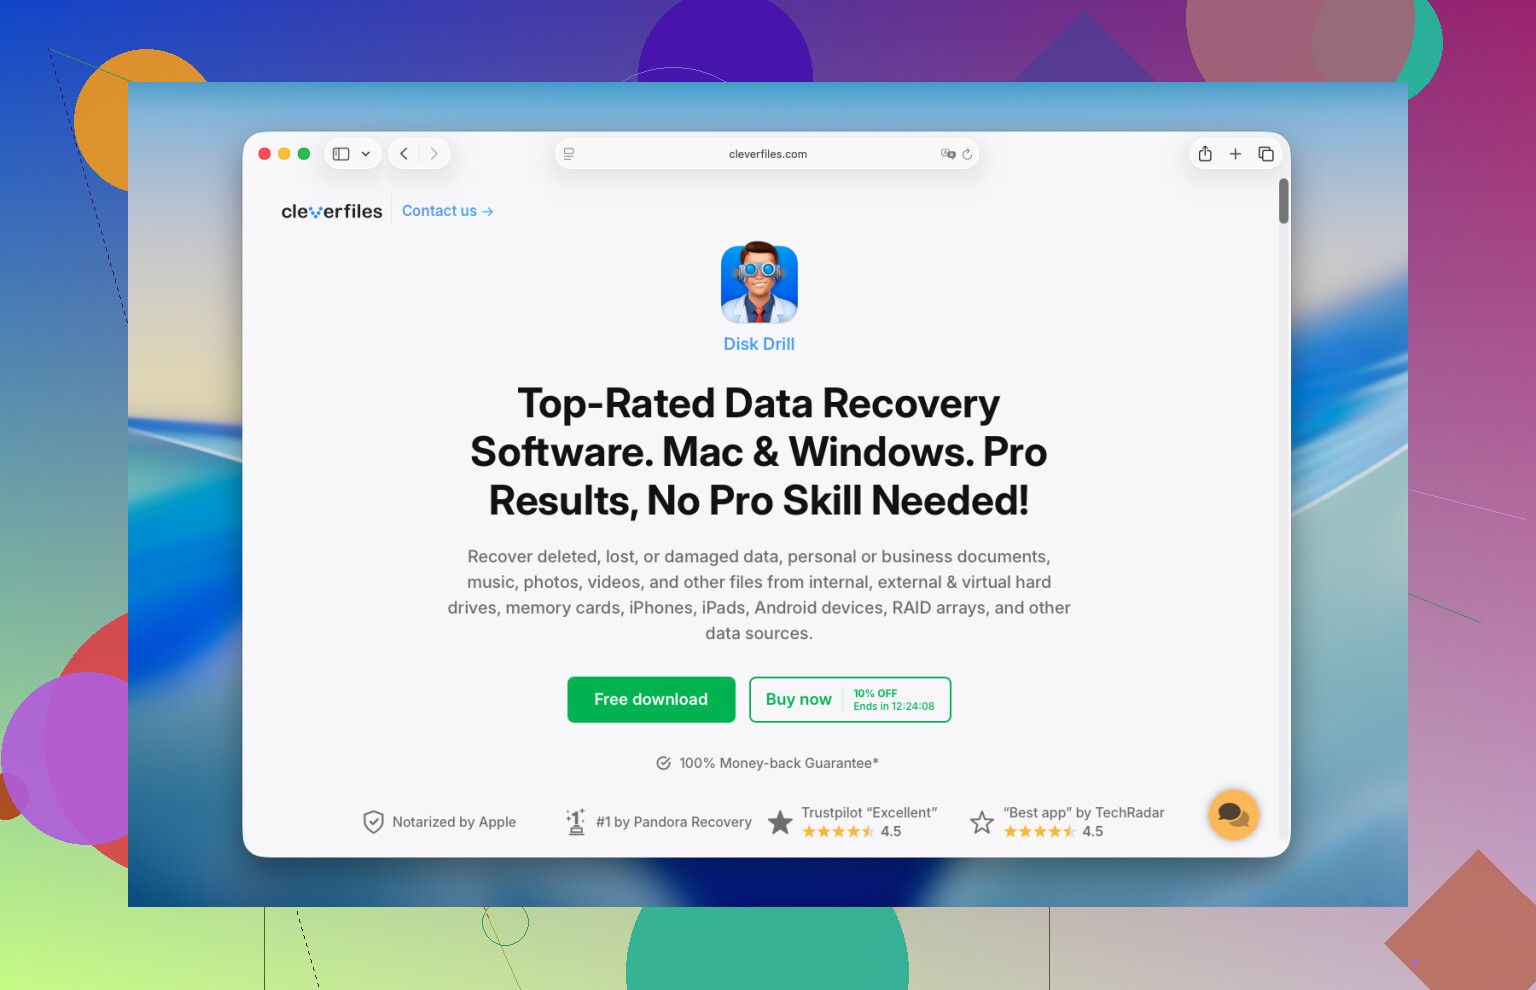
Run recovery software fast. I’ve had the best luck with Disk Drill. On newer Macs, especially Apple Silicon systems like M1, M2, M3, and M4, plus Intel models with the T2 chip, the internal drive setup is locked down and encrypted enough that a lot of random recovery apps hit a wall. Disk Drill tends to handle those systems better. This is the approach I’d follow:
- Do not install Disk Drill on the MacBook you’re trying to recover. I know, tempting. Don’t. Any install writes data to the same drive where your deleted files used to sit. Use another computer. Download Disk Drill there, put it on a USB drive, and work from that instead.
- Make a full disk image before scanning. People skip this, then regret it. Disk Drill lets you clone the drive bit for bit into an image file on an external disk. I’d do this first. It gives you a frozen copy of the drive’s current state. If TRIM or background tasks eat more deleted data later, you still have the earlier snapshot. If your first scan misses something, rerun scans against the image instead of touching the MacBook drive again.
- Use Universal Scan. Point it at the internal drive, or better, the disk image you made. Let it crawl through the raw sectors and pull up whatever signatures and file records are still there.
- Check the previews before paying. The scan is free. You can look through what it found and preview photos, videos, PDFs, docs, all of it. I’d verify your files open and look normal before spending money on the recovery step.
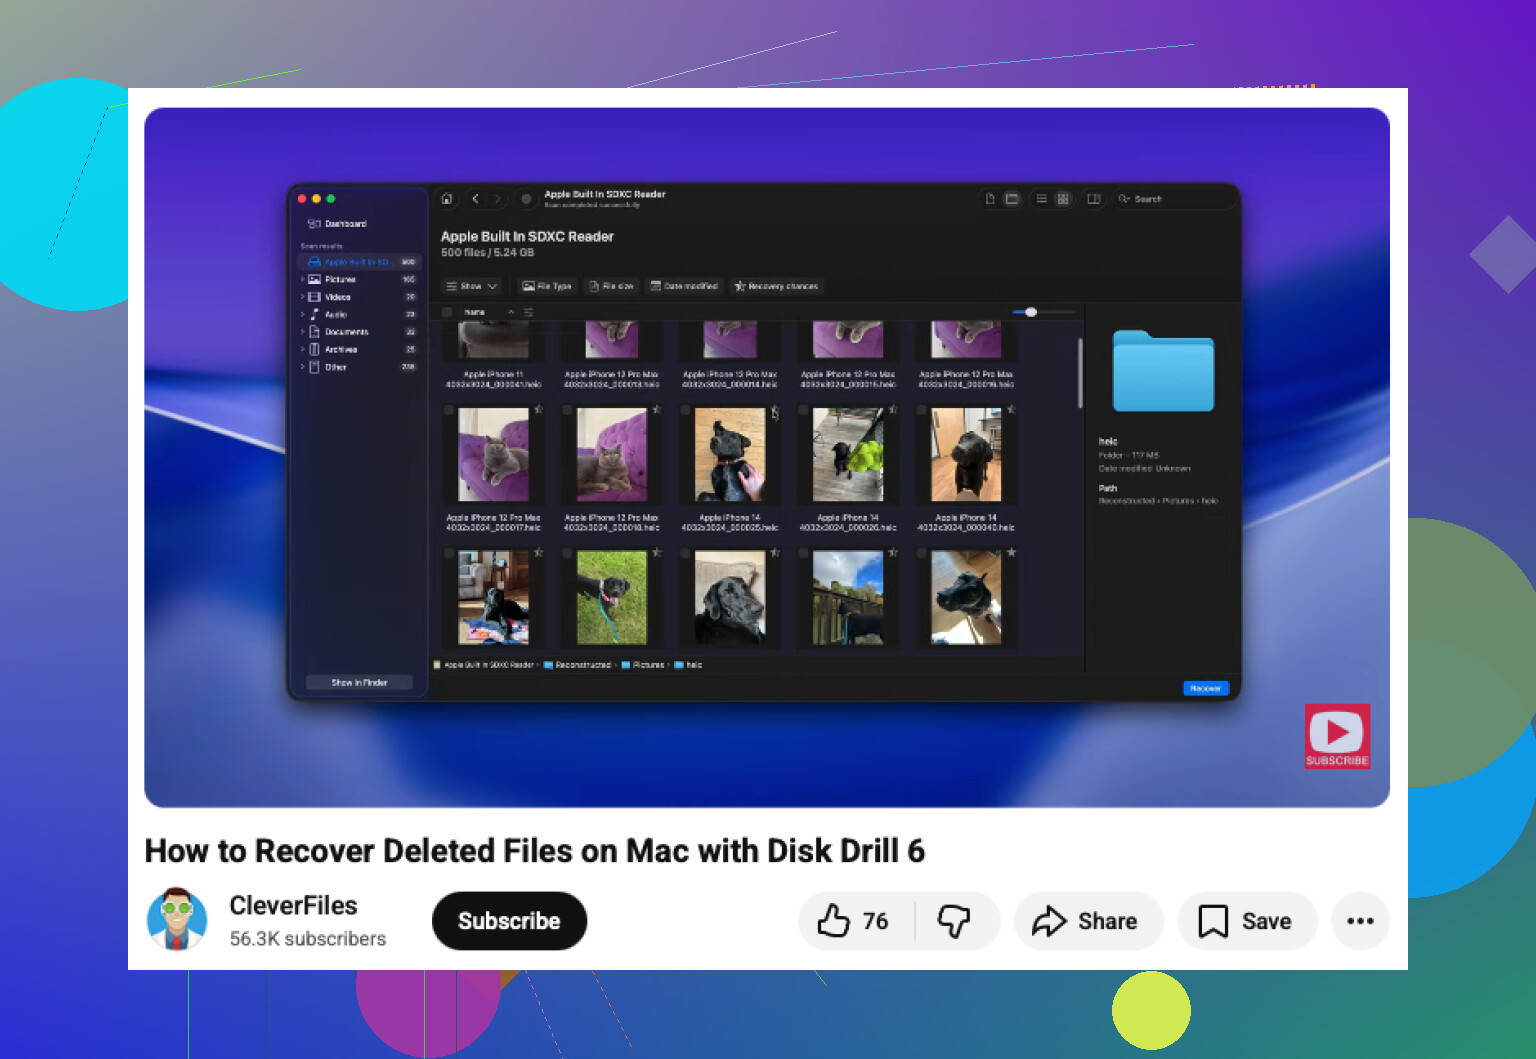
- Restore recovered files to external storage. Save them to a USB stick, external SSD, or another computer. Do not write them back onto the MacBook’s internal drive.
After that, I’d still check the usual backup corners, because sometimes the files are sitting there and people miss it.
Time Machine. If you ever turned it on, open Time Machine and go to the folder where the files were. macOS often keeps local snapshots from roughly the last day, even without the backup drive connected. I’ve seen people recover stuff from there when they thought they had nothing.
Cloud accounts. If those files synced through iCloud Drive, Dropbox, or Google Drive, check from your phone or a second computer. I’d keep the Mac offline while doing this. Those services usually keep their own Recently Deleted area for around 30 days, separate from your Mac’s Trash.
Photos and Notes. If what’s missing was in Apple Photos or Notes, open those apps and inspect their Recently Deleted sections. Apple keeps deleted items there for about 30 to 40 days in many cases, even if Trash was emptied.
If none of this works, the last stop is a recovery lab. They use hardware tools and controlled cleanroom setups, and they don’t rely on macOS behaving nicely. Success rates vary, price hurts, and I’ve seen quotes from around $300 up to $3,000. For family photos, tax records, client work, stuff you can’t replace, it might be worth it. For random downloads, nah.
11 Likes
Yes, there is still a shot, but your odds depend on two things. Your Mac’s storage type and whether you had backups or sync turned on.
I agree with @mikeappsreviewer on one part. Keep writes to the internal drive low. I do not fully agree with the blanket “stop everything” panic if your files lived in iCloud Drive, Dropbox, Photos, Notes, or a Time Machine backup. In those cases, your fastest win is to check those services from another device first.
What I’d do, in this order:
-
Check iCloud.com, Dropbox, Google Drive, OneDrive.
Look for Recently Deleted or Version History. Many services keep deleted files for 15 to 30 days. Sometimes longer on paid plans. -
Check app-level trash.
Photos has Recently Deleted.
Notes has Recently Deleted.
Mail, if attachments or saved items matter. -
Check Time Machine.
If it was on, this is the cleanest fix. No scan, no file corruption, no mess. -
If no backup exists, use Disk Drill.
It’s one of the better Mac Trash recovery tools for modern Macs. Scan first. Preview results. Recover to an external drive, not your Mac’s internal one. If previews look broken, the deleted data got overwritten or trimmed.
One important bit people miss. If your Mac has an SSD, recovery rates drop fast after Trash was emptied. On older HDD-based Macs, chances were often much better. On recent MacBooks, not so much. Brutal, but true.
If you want a step-by-step video, this Mac file recovery guide after emptying Trash walks through the process.
If the files are business docs, legal stuff, or family photos, I’d skip random free tools and go straight to Disk Drill or a recovery shop. Free apps are hit or miss, and some are sketchy tbh.
Yes, maybe. But on a modern Mac, the answer is annoyingly “maybe for a very short time.”
I mostly agree with @mikeappsreviewer and @caminantenocturno, but I’d push one extra angle they only touched lightly: check for other copies of the file itself, not just backups. Spotlight suggestions, app recents, emailed attachments, exported versions, duplicate downloads, Adobe temp saves, Office autorecovery, stuff like that. People fixate on Trash recovery and forget the file may still exist somewhere else under a diff name.
A few places worth checking from another device if possible:
- Finder Recent files
- Word/Excel AutoRecovery folders
- Preview app recent documents
- Downloads folder for duplicates
- Mail attachments you sent or received
- Slack/Teams uploads
- iCloud Drive web version with older copies
If none of that hits, then yeah, Disk Drill for Mac Trash recovery is a sensible next move. I slightly disagree with the “recovery lab right away” vibe unless the files are truly irreplaceable. For last-night deletions, software is still the first thing I’d try before spending insane money.
One more thing: if FileVault was on and the SSD already trimmed those blocks, recovery chances can go from decent to basically toast real fast. Brutal but true.
Also, if you want a visual walkthrough, this Mac Trash recovery tutorial after emptying deleted files is easier to follow than a lot of blog posts.
So the short version:
- stop using the Mac too much
- look for alternate copies first
- then scan with Disk Drill
- recover only to external storage
If the files were super important, don’t keep experimenting too much. That part gets ppl in trouble fast.
One small disagreement with @caminantenocturno, @espritlibre, and @mikeappsreviewer: after “last night,” internal SSD recovery on a recent Mac is often already in bad shape, so I would not get overly hopeful about classic Trash recovery itself.
What I’d check that they only lightly touched:
-
Local snapshots without a full Time Machine habit
In Terminal, runtmutil listlocalsnapshots /
Macs sometimes keep APFS snapshots even when people think “I never backed up.” If snapshots exist, you may be able to roll back or pull older versions. -
App-specific autosaves and temp folders
Pages, Numbers, Keynote, Microsoft Office, Adobe apps, and some editors keep autorecovery copies outside Trash. -
Version history on APFS-friendly apps
For document apps, try File > Revert To > Browse All Versions. -
Other devices
Another Mac, iPhone, or iPad may still have cached/offline copies.
If you do go software route, Disk Drill is reasonable.
Pros: easy UI, good scan coverage, previews help before paying.
Cons: not magic on TRIMmed SSDs, can find tons of junk, full recovery requires paid version.
If Disk Drill finds nothing useful, that result is often the answer, not a sign to keep installing five more recovery apps and make things worse.