I need help recovering files from an external hard drive that suddenly stopped showing up on my computer after I unplugged it without realizing a transfer was still in progress. It has important photos, work documents, and backups I can’t replace. I’m looking for advice on safe external hard drive data recovery steps, possible causes, and whether recovery software or a professional service is the best option.
I did this once with a trip folder, years of photos gone in one bad click. The first thing I learned was simple. Deleted files on an external drive are often still there for a while. The drive usually removes the file entry and marks the space as free. The photo data often sits there until something else gets written over it.
So stop using the external drive now. Don’t copy anything to it. Don’t rename folders. Don’t run cleanup tools. Eject it and leave it alone until you know your next step. If new data lands on the same sectors, your odds drop fast. After overwrite, software recovery is dead.
Check the drive before you try software
I’d pause and skip the DIY route if the drive shows hardware trouble. A few signs are hard to ignore:
- Bad sounds. Clicking, grinding, scraping, loud beeps. I’ve seen drives get worse within minutes once this starts.
- No spin, no lights. If it stays dead on multiple ports and cables, the board or internals might be gone.
- Not detected anywhere. If Disk Management on Windows or Disk Utility on Mac shows nothing after basic cable and computer swaps, I wouldn’t keep poking at it.
At that point, a recovery lab makes more sense. If the drive spins up, mounts, and stays quiet, software is the cheaper path and often enough for plain deletion.
What I’d use
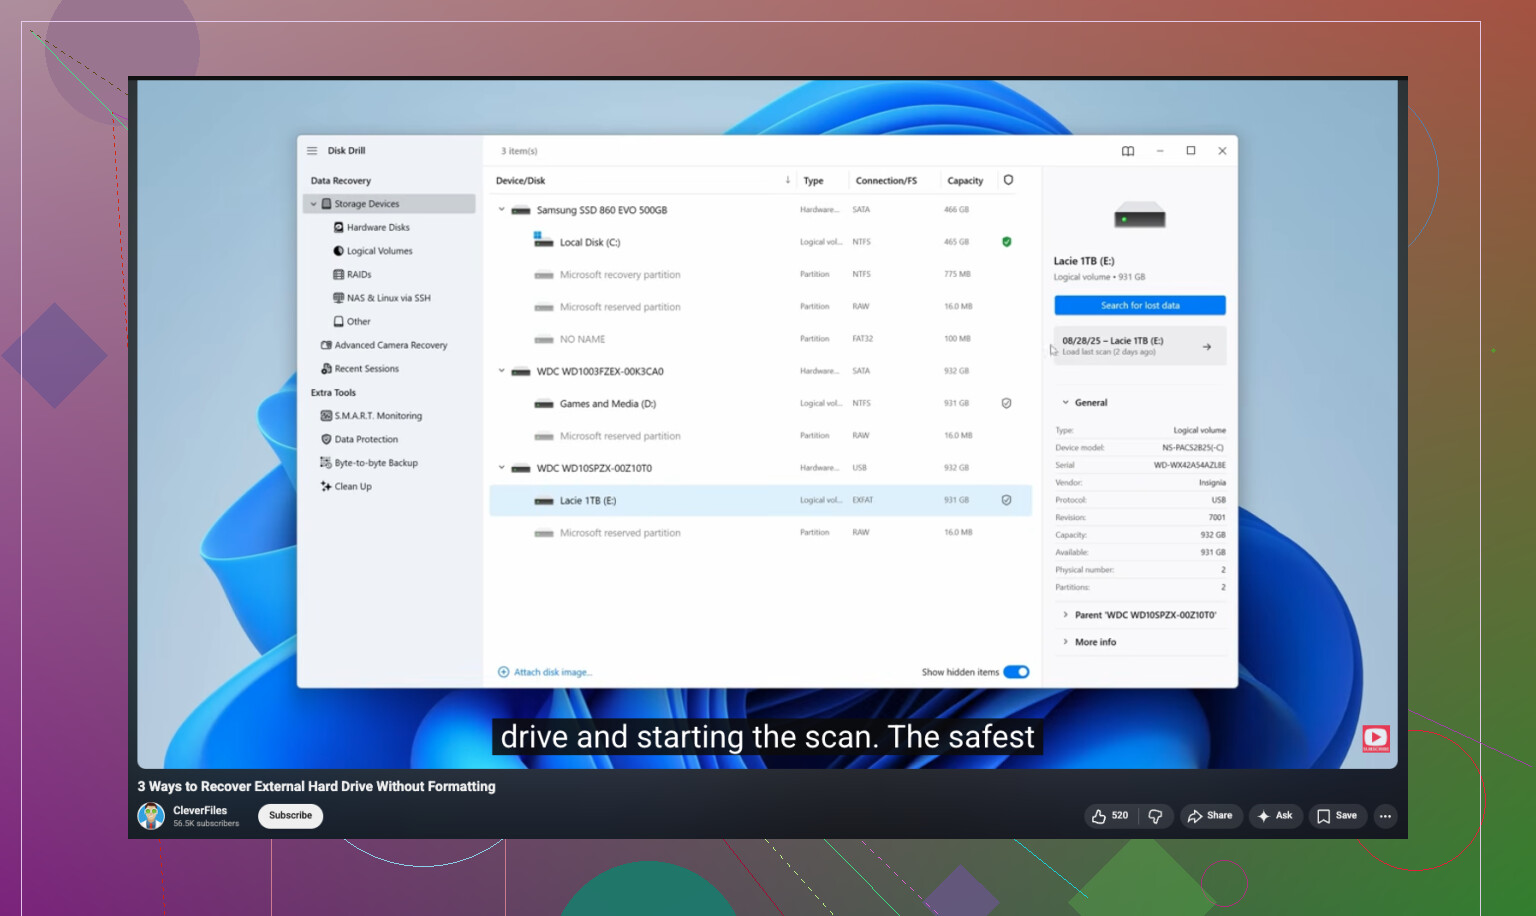
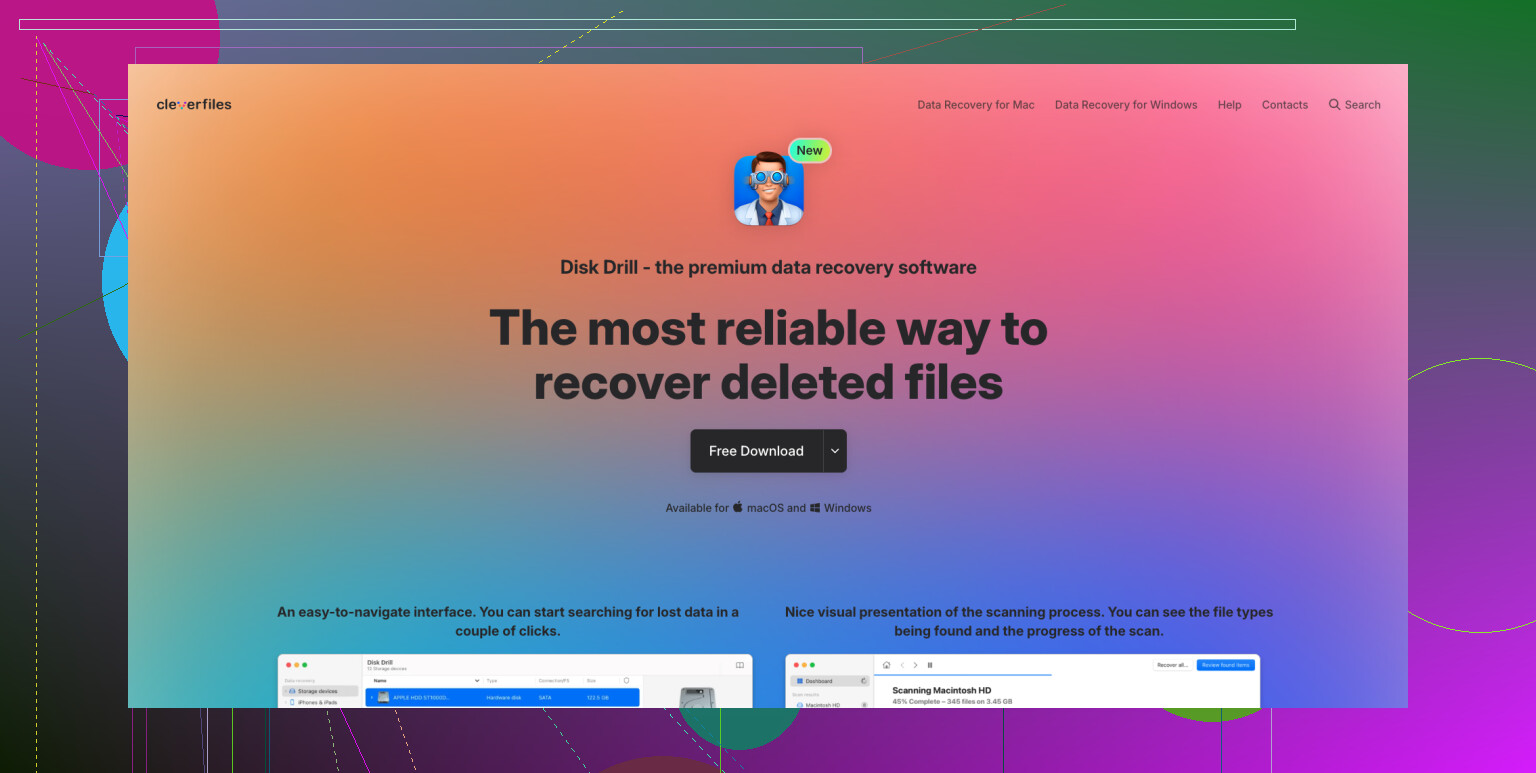
I’ve tried a pile of recovery apps over time. For photo recovery, Disk Drill felt like the least annoying option. The layout is easy to follow, previews are useful, and its scan does a good job with photo and video formats. There’s also a camera-focused recovery mode, which helped me sort through media files faster. You scan first, preview first, and if the photo opens in preview, your chances are usually decent.
If you need a free route, PhotoRec is still around. It pulls files by signature and it does recover stuff. I used it once and, wow, what a mess. No clean interface, weak sorting, random filenames everywhere. It dumps a mountain of files in your lap and leaves you to clean it up.
Recuva is another free Windows option. Easier to use than PhotoRec, no doubt. But its deep scan results felt older and weaker when I compared it with newer tools on large photo sets.
The safer recovery workflow
If you use Disk Drill, this is the order I’d stick to:
- Install it on a different drive
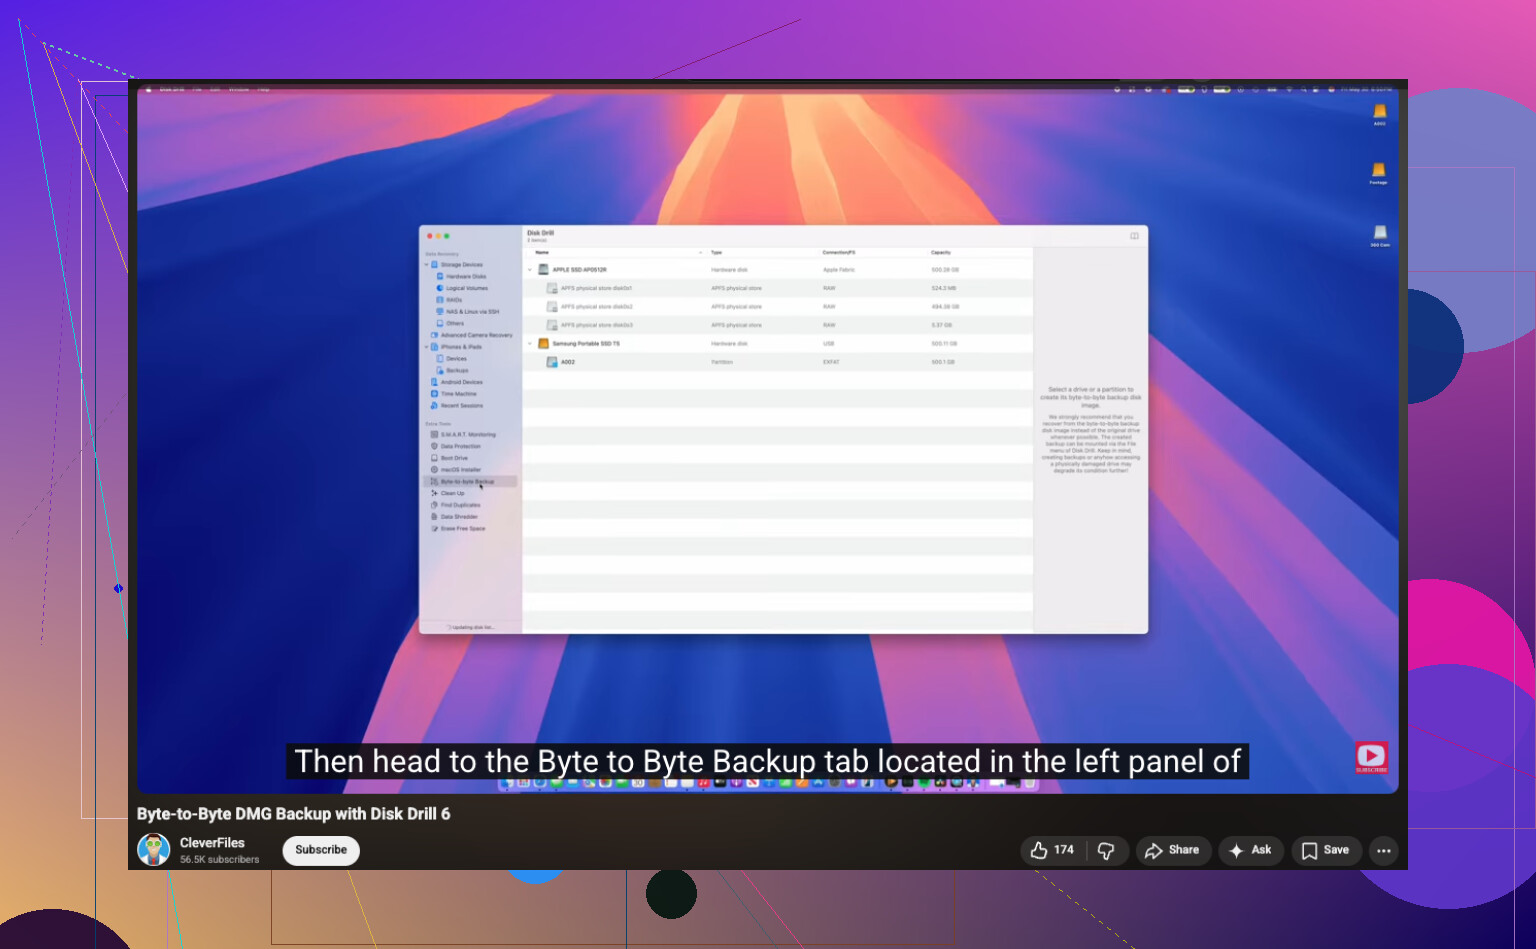
Put the software on your computer’s internal drive, not the external one with the deleted photos. You want zero new writes on the problem drive. - Make a full image first
Reconnect the external drive and create a byte-for-byte copy before you do anything heavy. Disk Drill includes this. Save the image file to your internal drive or another healthy disk.
https://www.youtube.com/watch?v=oJ1aQPFxTag - Scan the image, not the original drive
This part matters more than people think. Once the image is done, unplug the external drive and work from the image file. Less wear, less risk, fewer dumb mistakes. - Recover files somewhere else
After the scan finishes, filter for photos, check previews, and recover the good ones to a different location. Your desktop drive is fine. Another USB drive is fine. The original external drive is not fine.
A couple of small things I’d do
Let the full scan finish even if early results look weak. I’ve seen files show up late in the pass. Also, sort by file type first, then preview the files you care about most, like JPG, PNG, RAW, MOV, MP4. Saves time.
If this works and you get your photos back, set up backups right after. I ignored this once, paid for it twice. A simple 3-2-1 backup setup is boring, but losing family photos is worse.
2 Likes
First, stop plugging it in over and over. If the transfer got interrupted, the file system might be damaged, not the files themselves. That matters.
I agree with @mikeappsreviewer on one big point, stop writing to the drive. I disagree a bit on jumping straight to file recovery scans if the drive is not showing up at all. If your OS sees the disk in Disk Management or Disk Utility but it has no letter, shows RAW, or says unallocated, that points to partition or file system damage. In cases like this, repairing the partition map or cloning first often gets better results than a blind file carve.
What I’d check next:
- New cable, new USB port, no hub.
- Different computer.
- See if the drive appears in Disk Management on Windows.
- If it appears there, do not format it, even if Windows asks.
- Check SMART health with CrystalDiskInfo if Windows still sees the device.
If SMART shows caution, bad sectors, or lots of read errors, clone it first. If SMART is clean and the drive stays connected, Disk Drill is a solid option for external hard drive recovery because it handles lost partitions and damaged file systems better than some older tools. Recover to a different drive, obviosuly.
Also, if this is an external HDD and it starts clicking, slow mounting, or disconnecting mid-scan, stop. Labs cost money, but grinding a failing drive for hours is how people lose the last readable data.
If you want a simple walkthrough, this video is easier to follow than most: step by step external hard drive recovery guide
One more thing. If the enclosure failed, the disk inside might still be fine. Swapping the USB-SATA bridge board or putting the drive in another enclosure sometimes works. People miss this all the time.
If the drive is completely invisible, I’d actually put software recovery second, not first. @mikeappsreviewer is right about not writing to it, and @jeff is right to check whether it shows in Disk Management, but I’d add one more thing people skip: look in Device Manager/System Information and see if the USB bridge is what failed, not the disk itself. External enclosures die all the time.
If it appears with the right size but won’t mount, that’s where Disk Drill makes sense because it can scan for both lost partitions and raw files. If it appears with the wrong capacity, like 0 bytes or some weird number, stop messing with it. That leans hardware.
Also, don’t run CHKDSK yet. People love recommending it, but on a damaged file system it can “fix” your directory right into oblivion. Same for First Aid if the drive is acting flaky.
If this is mainly about photos/docs and not a dead mechanism, this is a decent read on recovering deleted files from a hard drive without making things worse.
Short version:
- Stop using it
- Test cable, port, enclosure
- See if OS detects hardware at all
- Clone first if readable
- Use Disk Drill on the clone
- Recover to another drive, not the same one
If you hear clicking or it keeps disconnecting, DIY is probly over.
I’m with @jeff on checking whether the disk is visible to the system at all, but I’ll push back a little on enclosure swapping as an early move if this is a branded external. Some WD and a few Seagate models handle USB bridge encryption weirdly, so pulling the bare drive can make the data look unreadable even when the disk itself is fine.
What I’d add that nobody’s mentioned yet: check the drive on Linux, even from a live USB. Sometimes Windows just refuses to mount a damaged NTFS/exFAT volume, while Linux will at least show the partitions and let you copy data off read-only. That can save a lot of hassle before you go deeper.
Also, if the drive shows up intermittently, skip normal file copy and use something like a non-destructive imaging tool first. Not a repair tool, not CHKDSK, just capture what’s readable.
On Disk Drill specifically:
Pros
- Good at finding lost partitions and common file types
- Easier preview/filtering than a lot of rivals
- Decent choice if you want one app instead of five utilities
Cons
- Not magic if the disk is dropping offline
- Deep scans can return lots of junk filenames
- Paid unlock is annoying if you only need one recovery job
So yeah, I’d combine @sterrenkijker’s caution with @mikeappsreviewer’s recovery angle: if it’s stable enough to read, clone first, then run Disk Drill on the clone, not the original. If it vanishes, clicks, or reports the wrong size, stop before DIY turns a recoverable mess into a permanent one.